
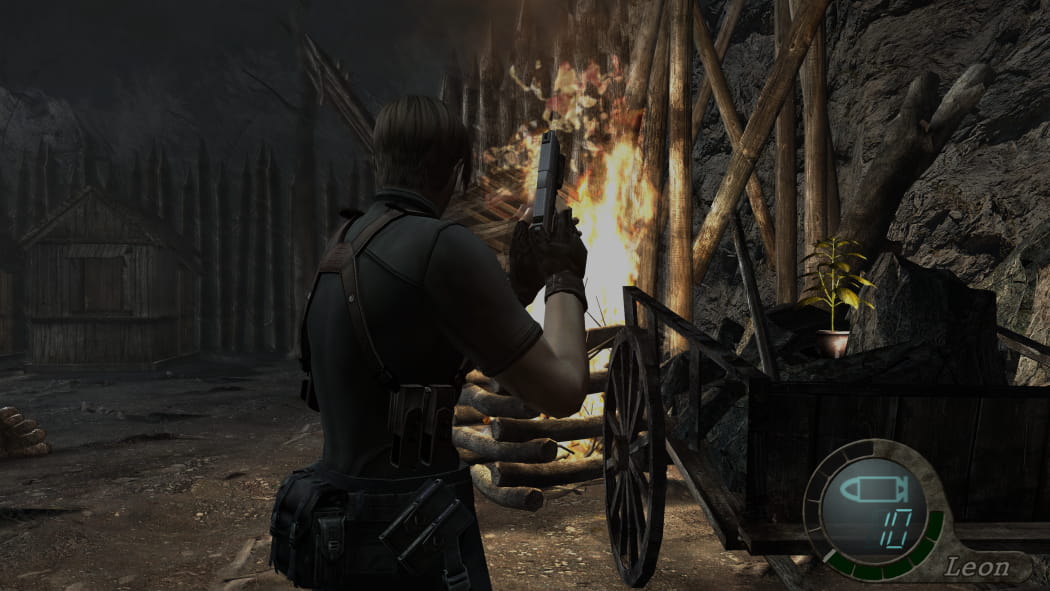
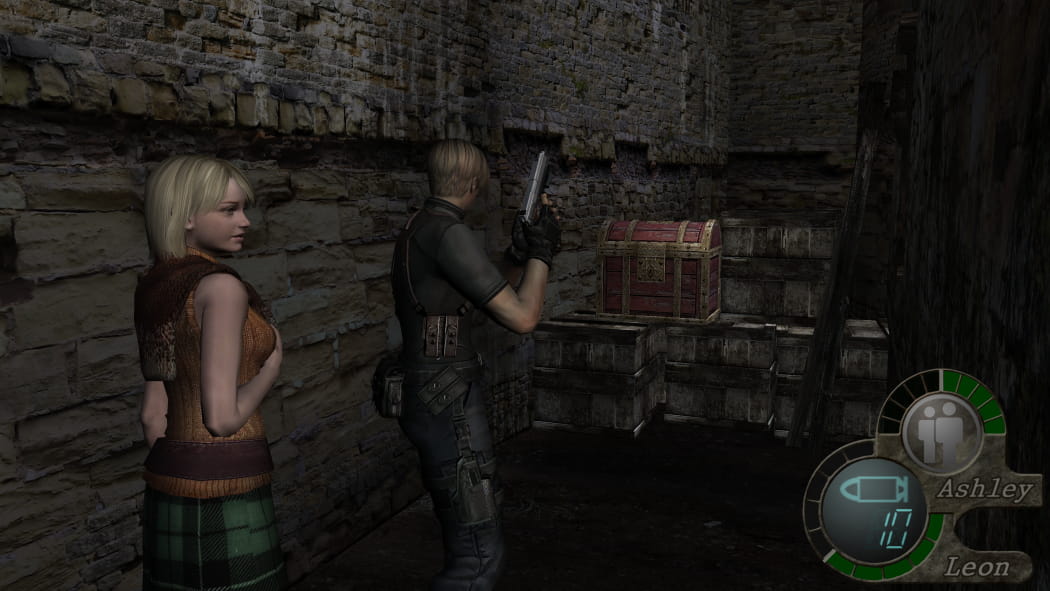
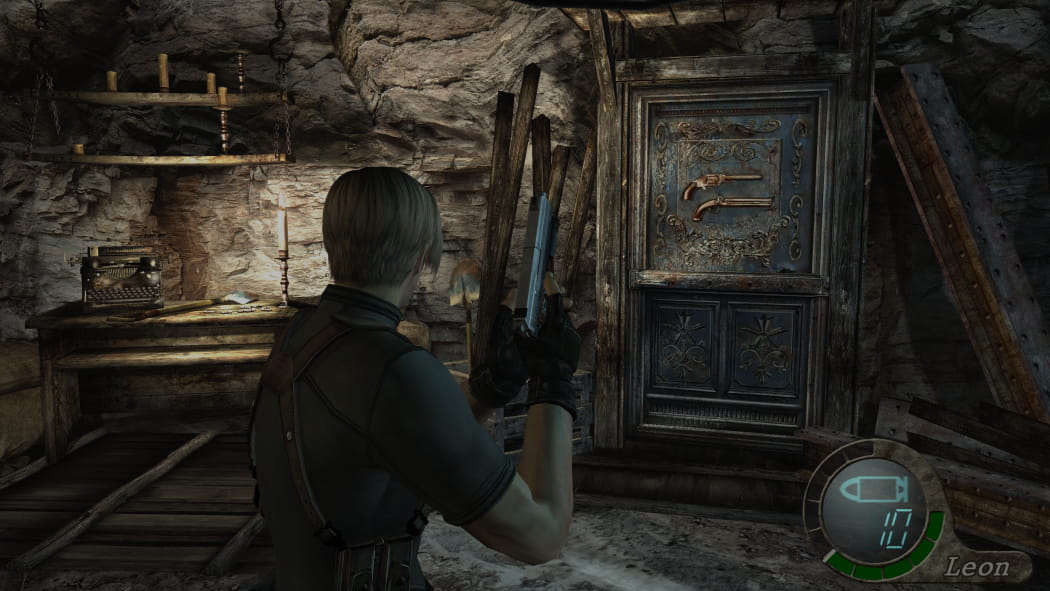
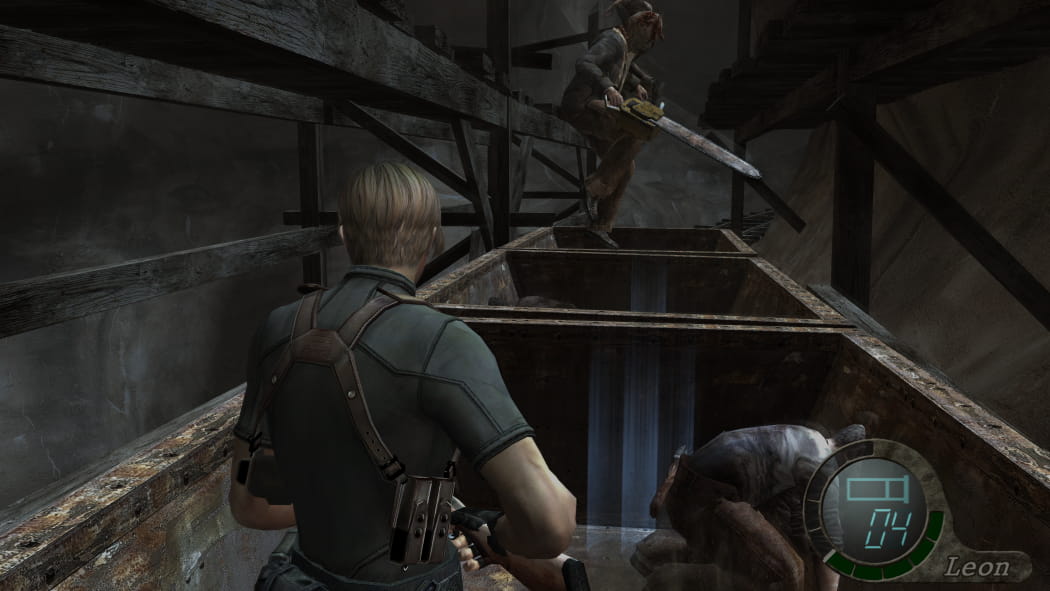
Chapter 1-1
Playing on easy difficulty makes entering certain areas impossible. To maximize both Leon's and Ashley's maximum health, 25 yellow herbs in total are required.
Spielt ihr auf dem einfachen Schwierigkeitsgrad, so sind bestimmte Gebiete nicht erreichbar. Ihr benötigt lediglich insgesamt 25, um Leons und Ashleys Lebensleiste gemeinsam zu vervollständigen.
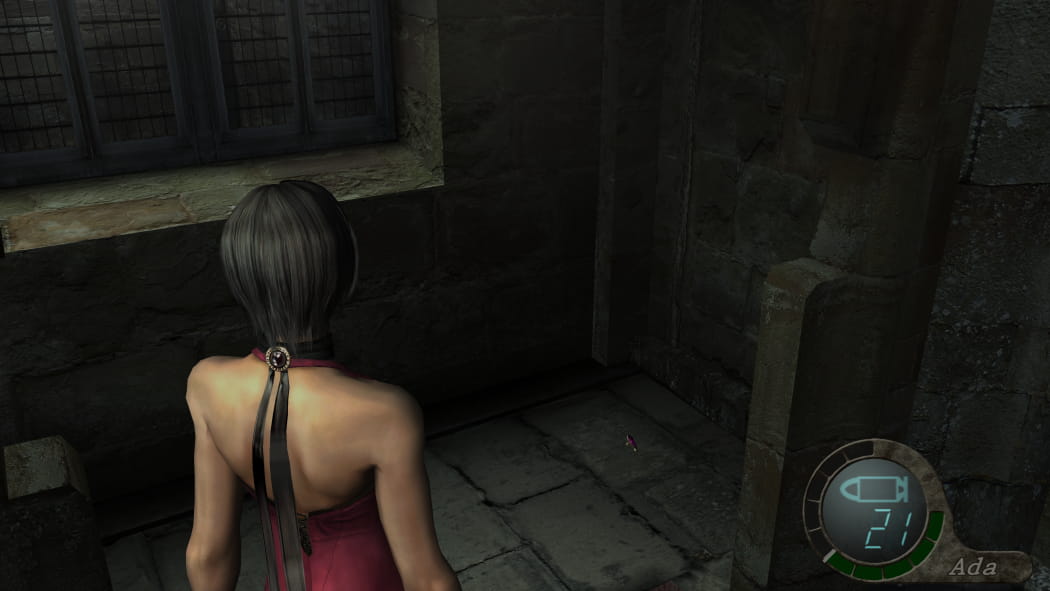
Spinel #01
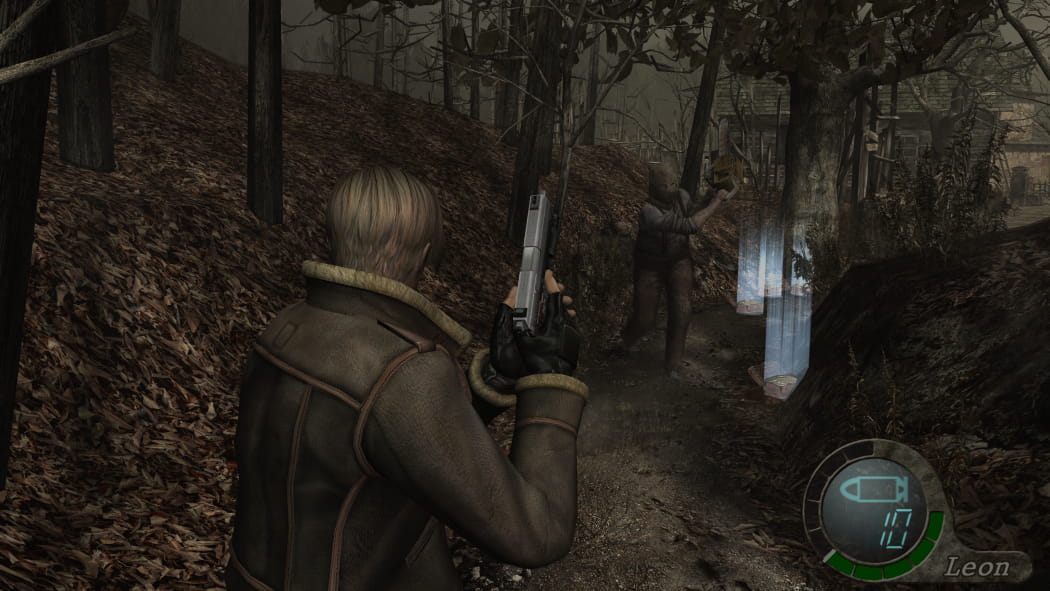
Shoot down the rightmost crow last. That one drops the first Spinel.
Hidden Hand Grenade
Shoot the crow on the right first, which drops a hand grenade. This is right before the dog that can be freed for some extra help during the El Gigante fight.
Ruby #01
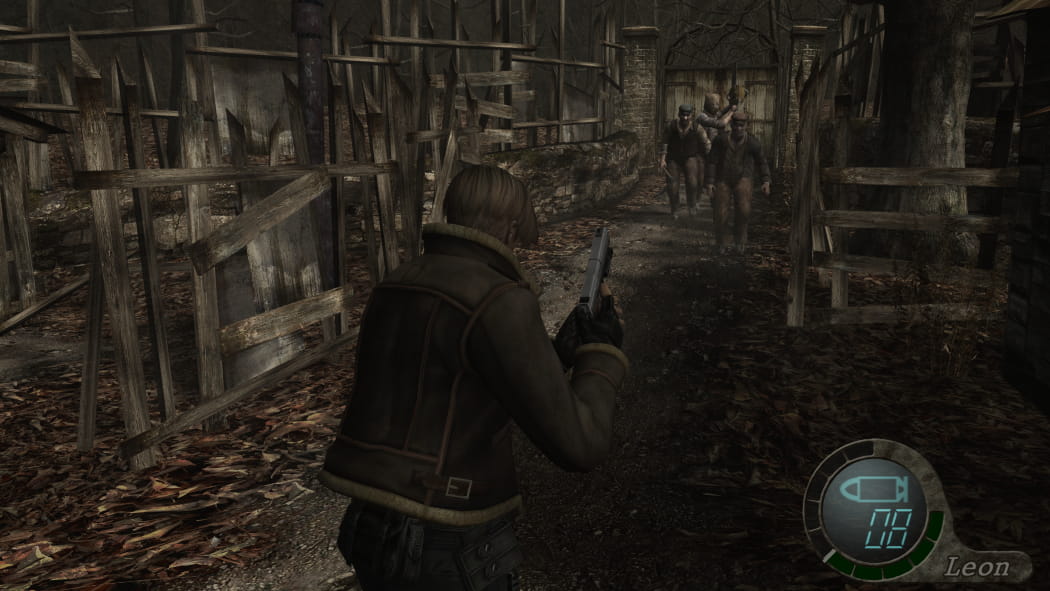
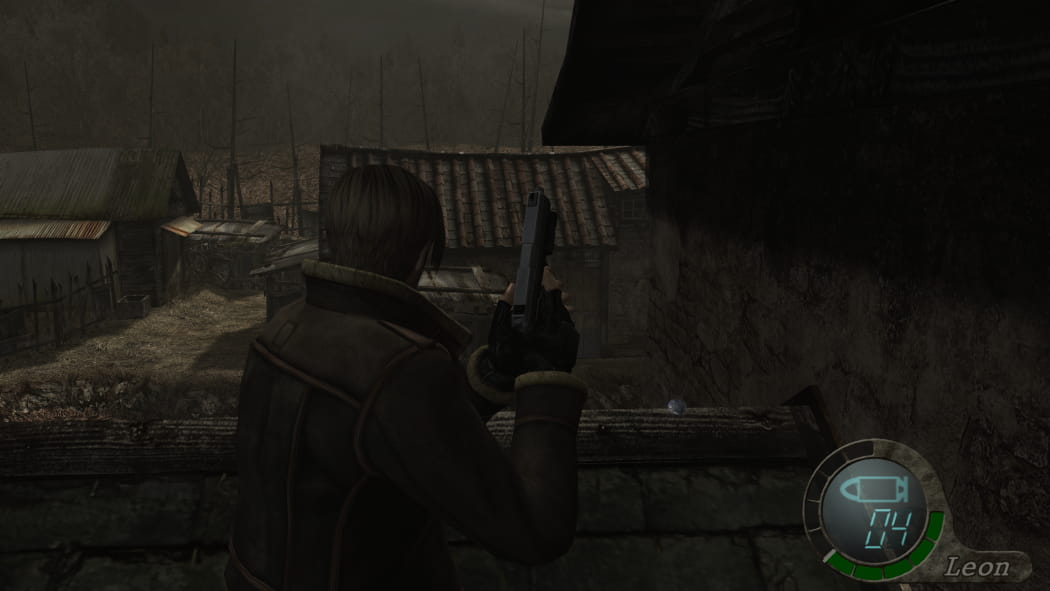
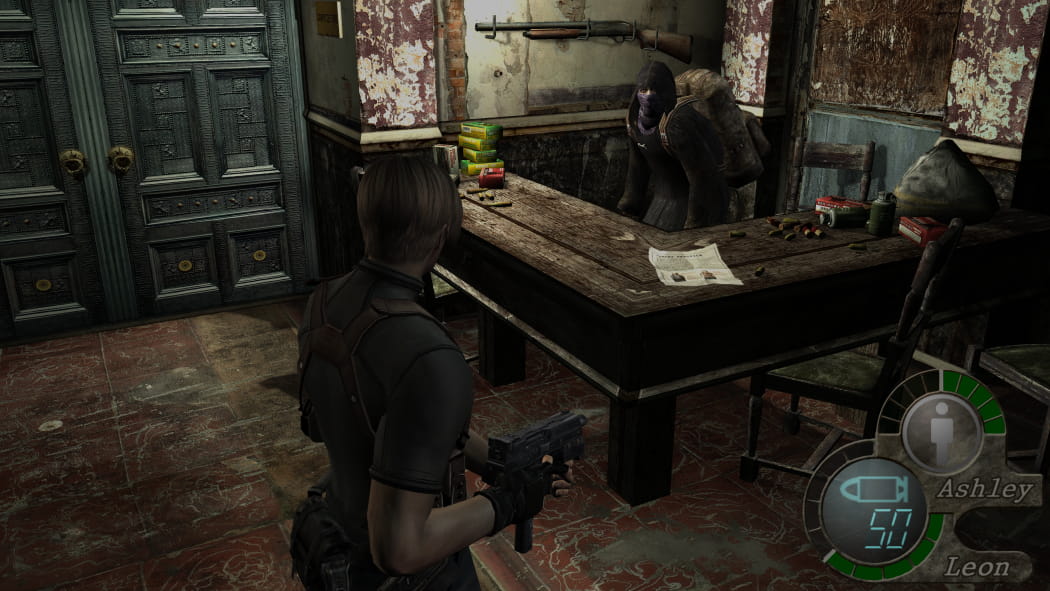
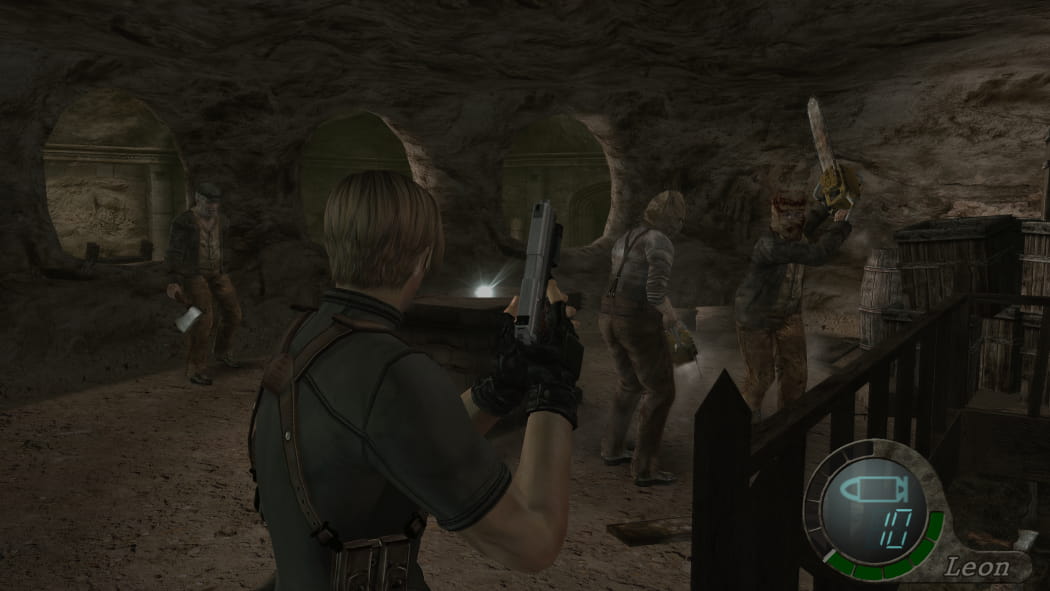
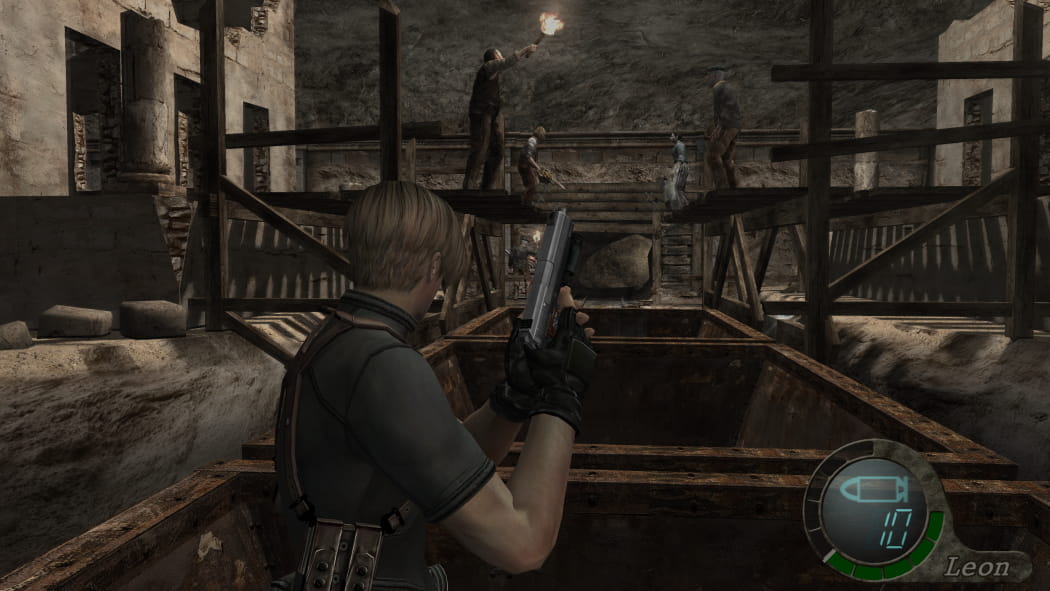
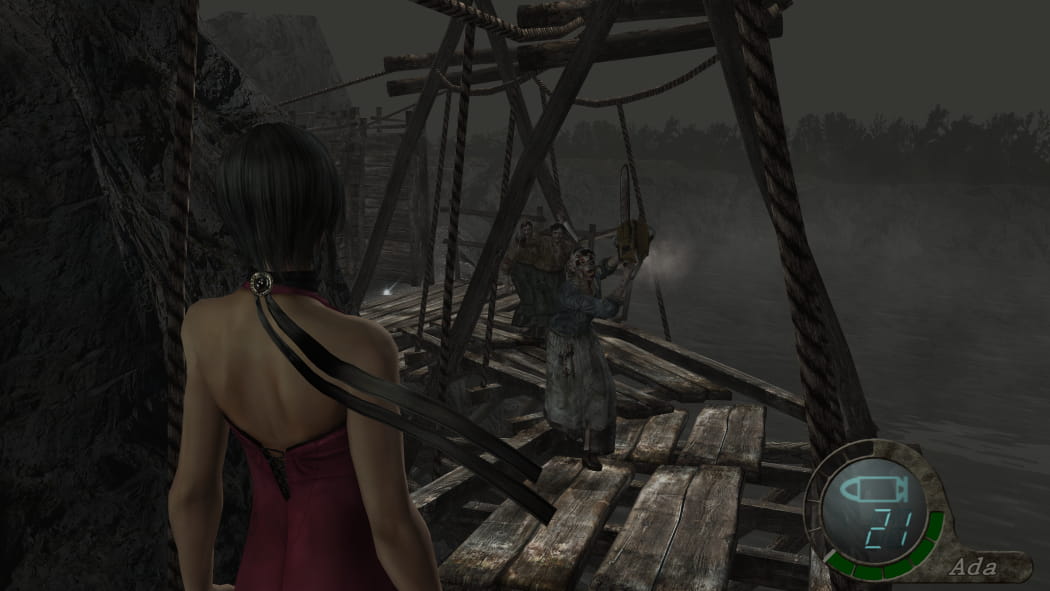
After entering the village, make your way quickly to the other side of the area. There will be a Chainsaw Ganado at the door. Killing him grants you a ruby. This is where the hidden hand grenade comes in handy. Entering the house in the center makes this Chainsaw Ganado disappear and another one spawn. If you want to kill both, make sure to head to this one right at the start.
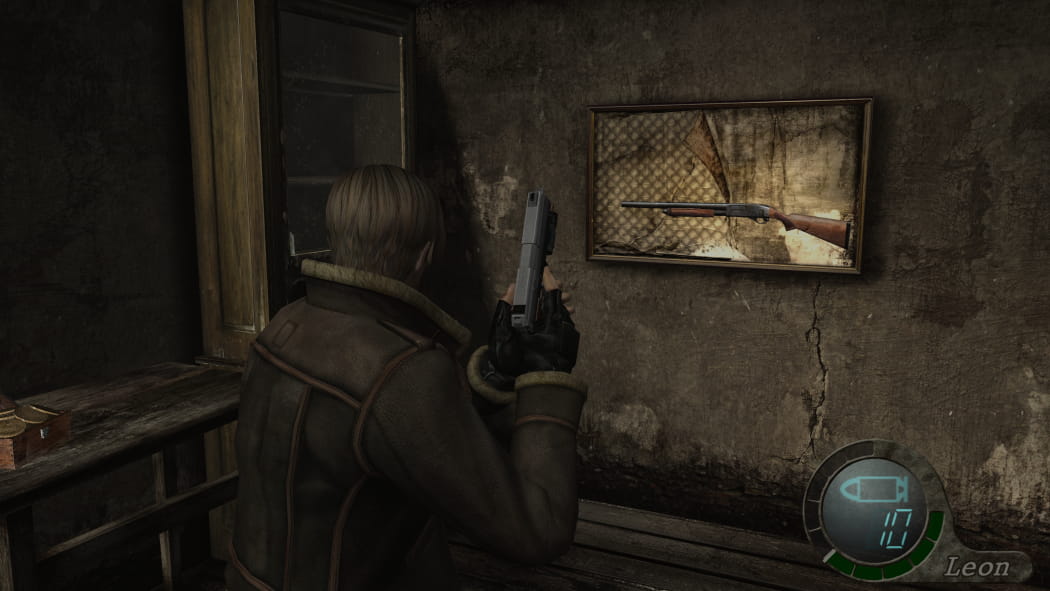
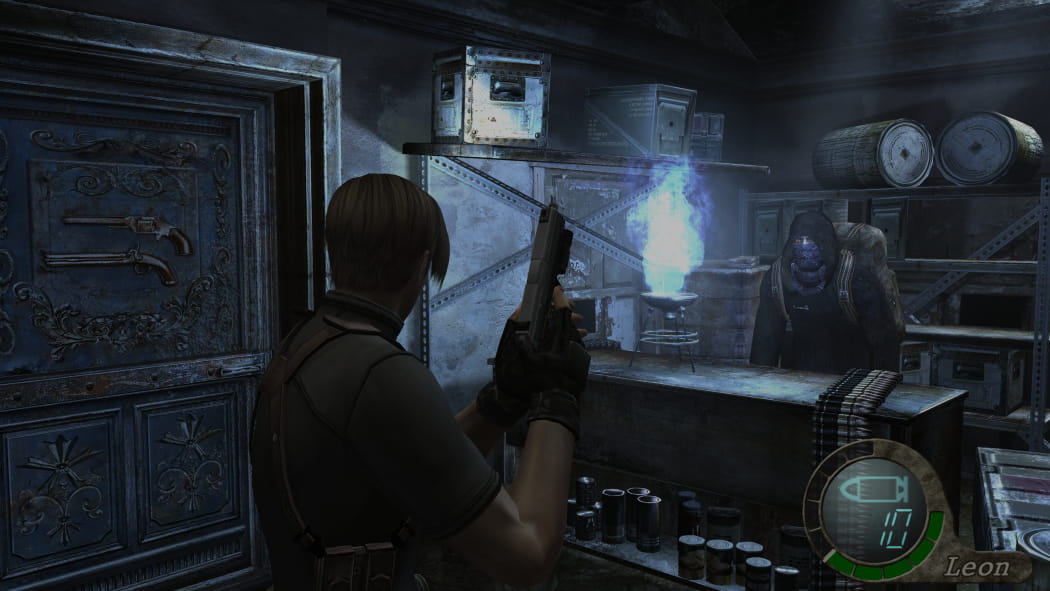
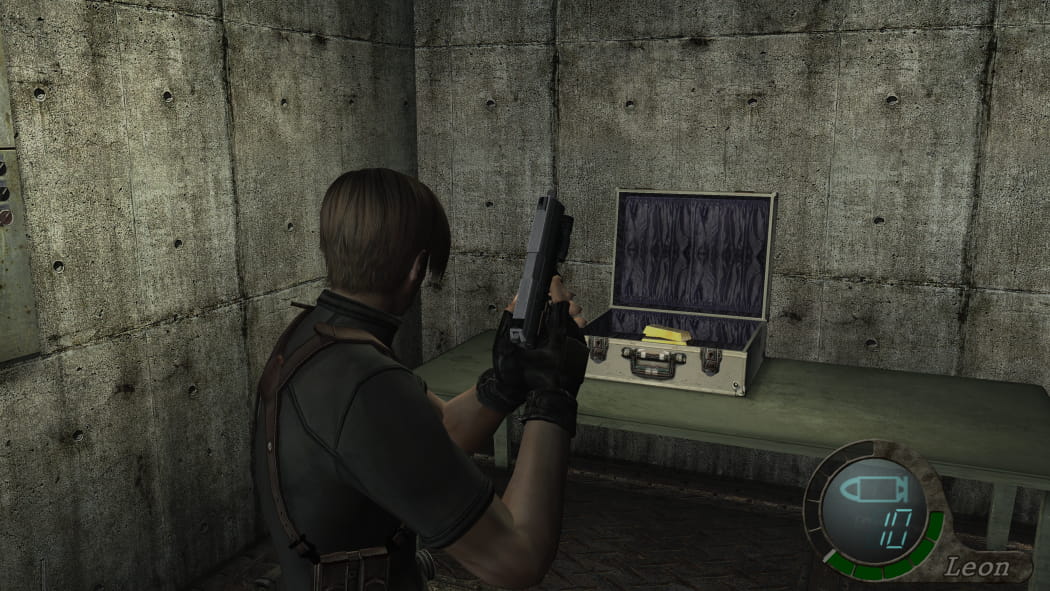
Shotgun
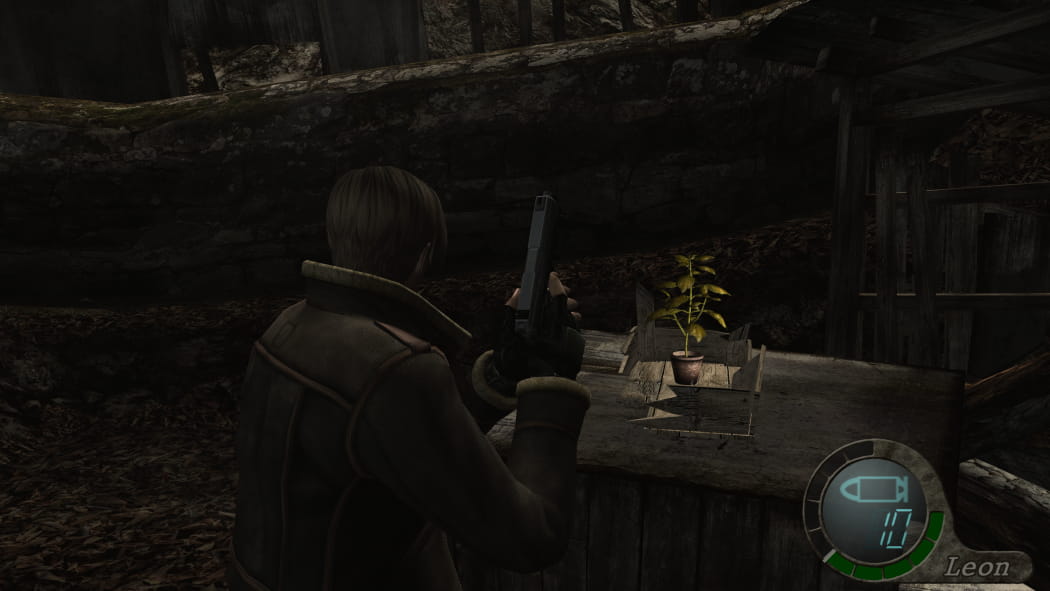
The house in the center has a shotgun on display.
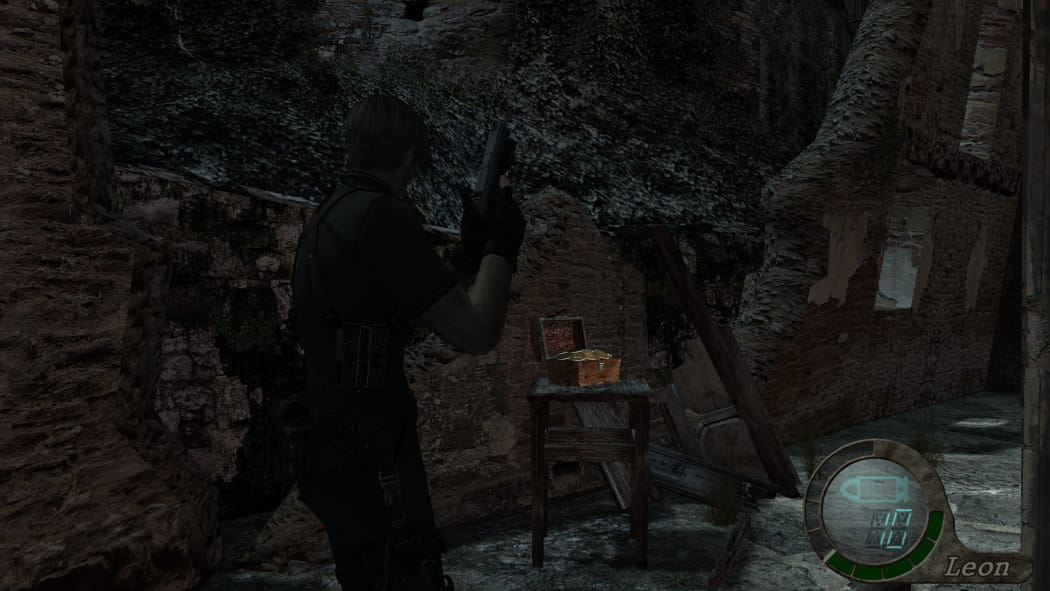
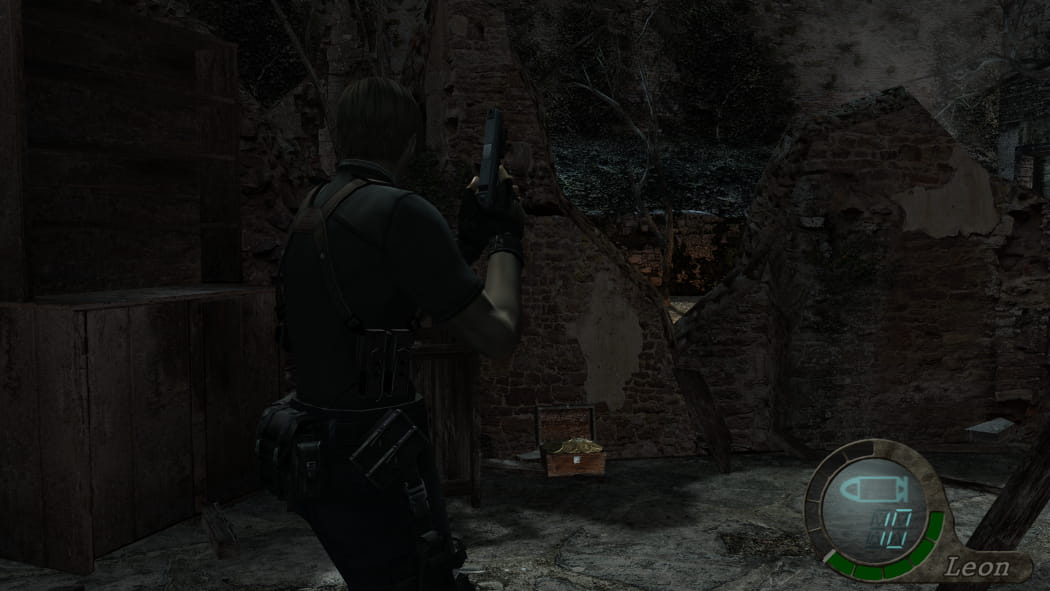
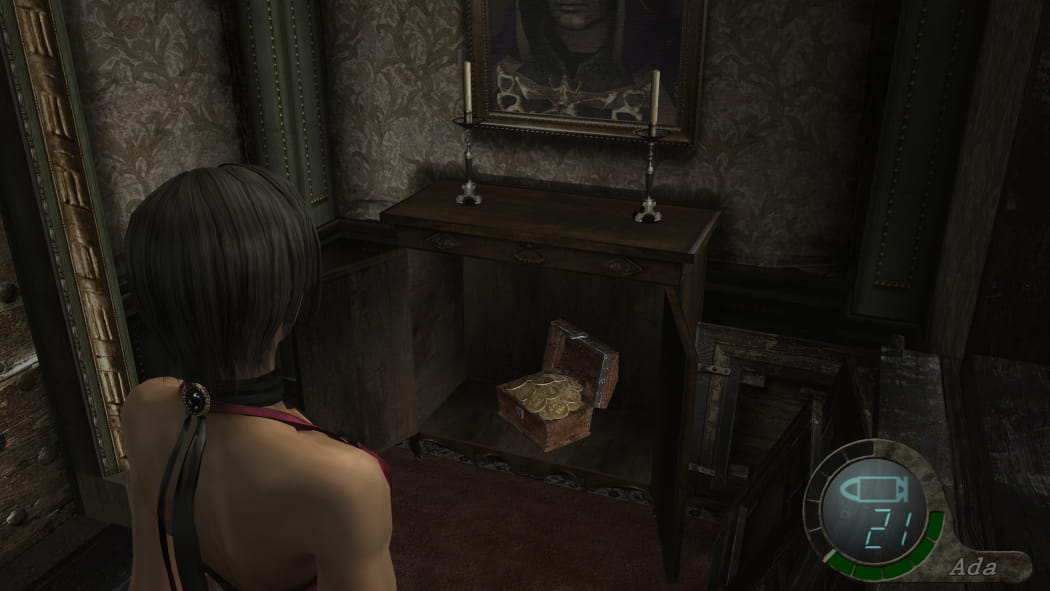
10 000 Pesetas
Entering the house in the center makes a second Chainsaw Ganado appear. This one drops straight up money. Make sure to kill the first one if you want that extra ruby before making this one spawn.
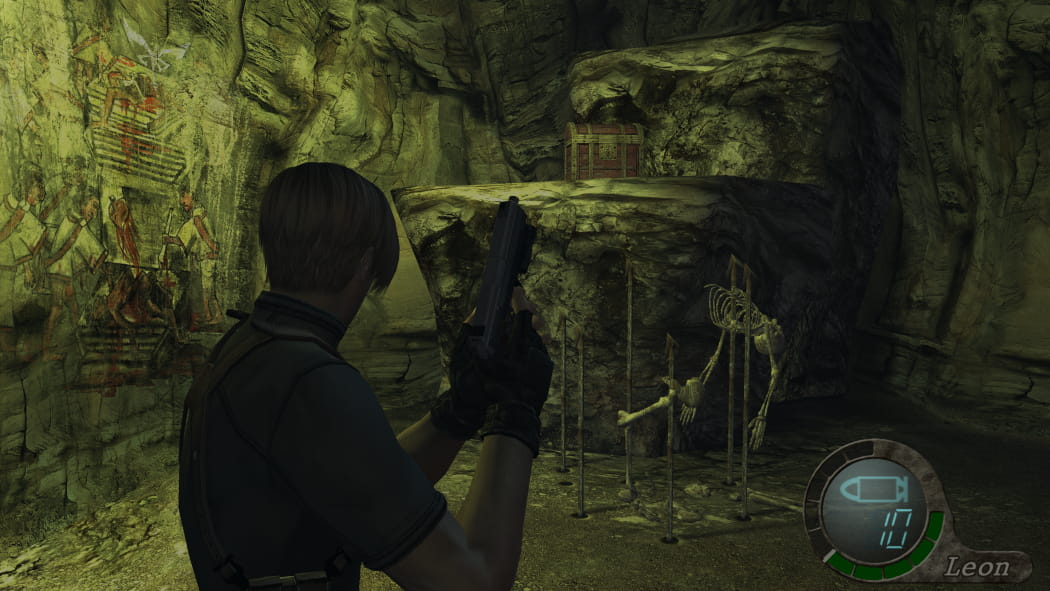
Spinel #02
On top of the center house.
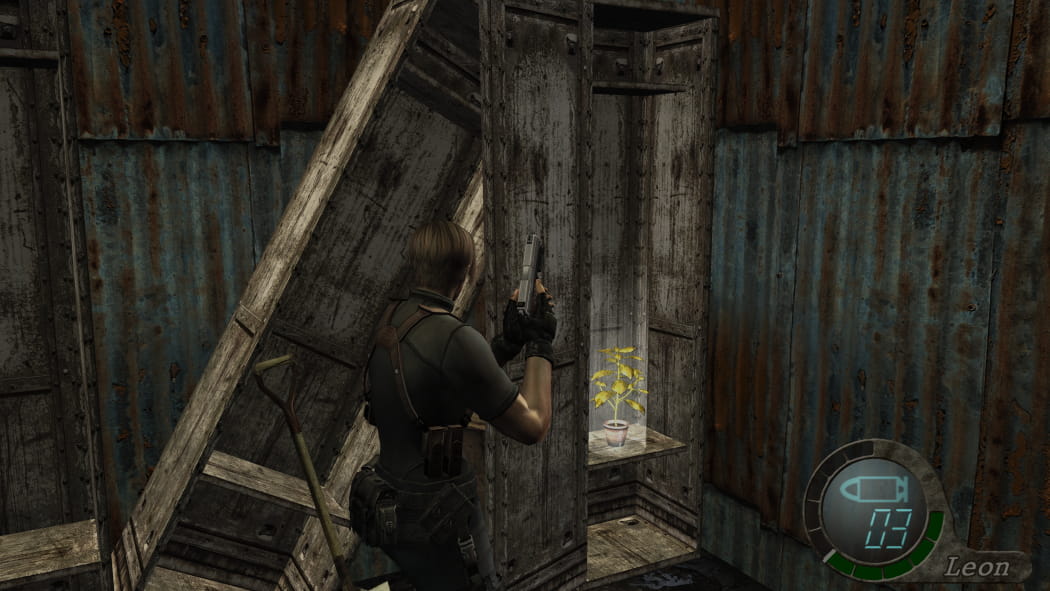
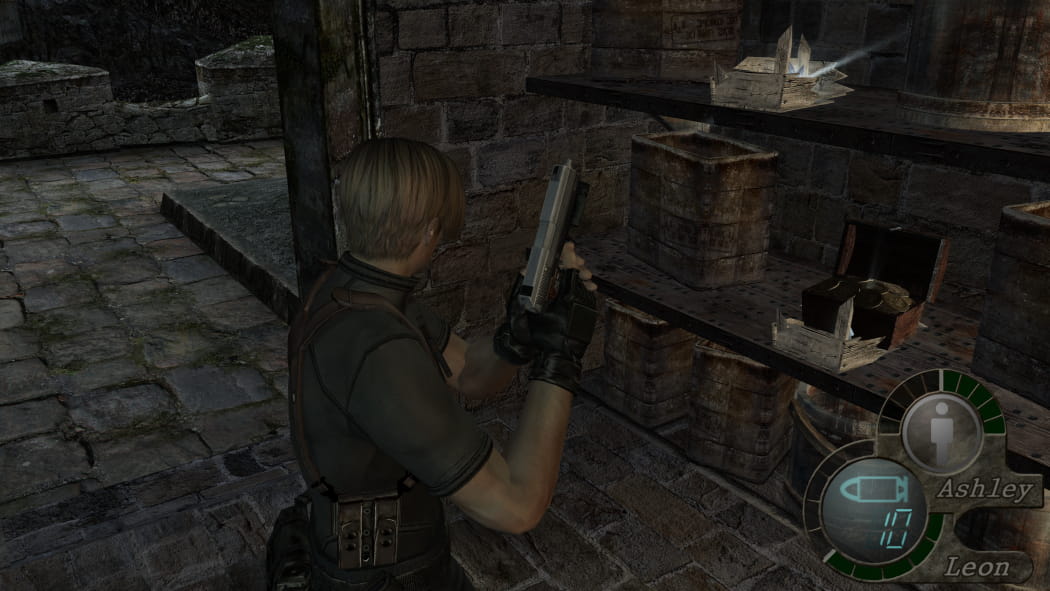
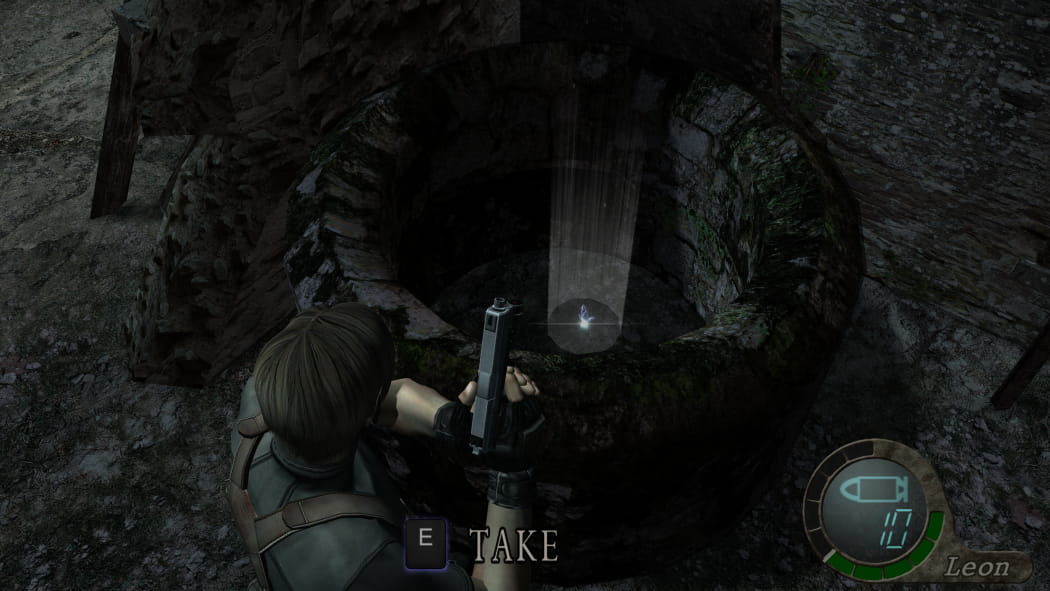
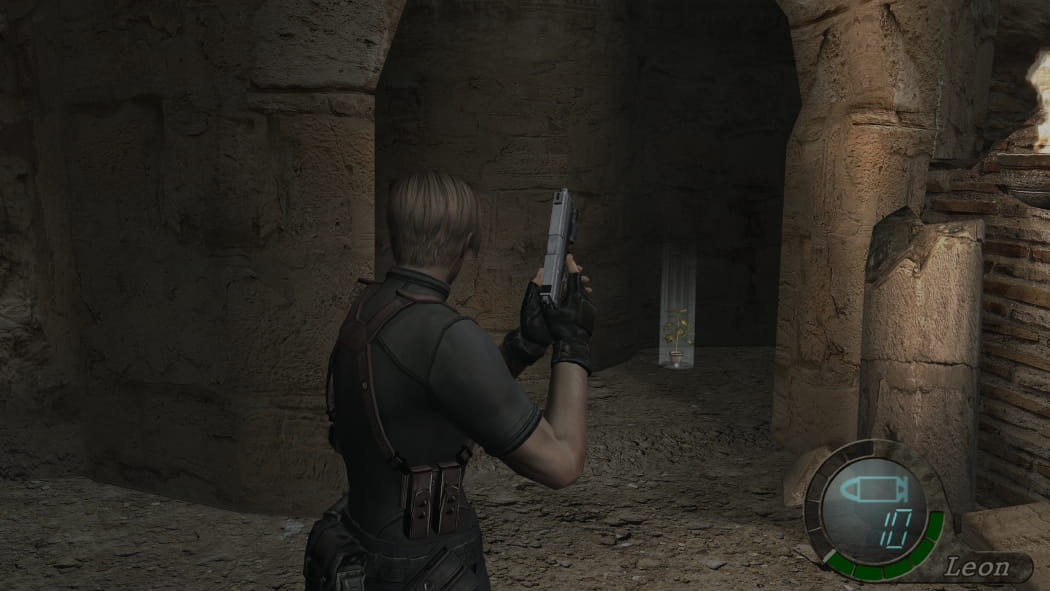
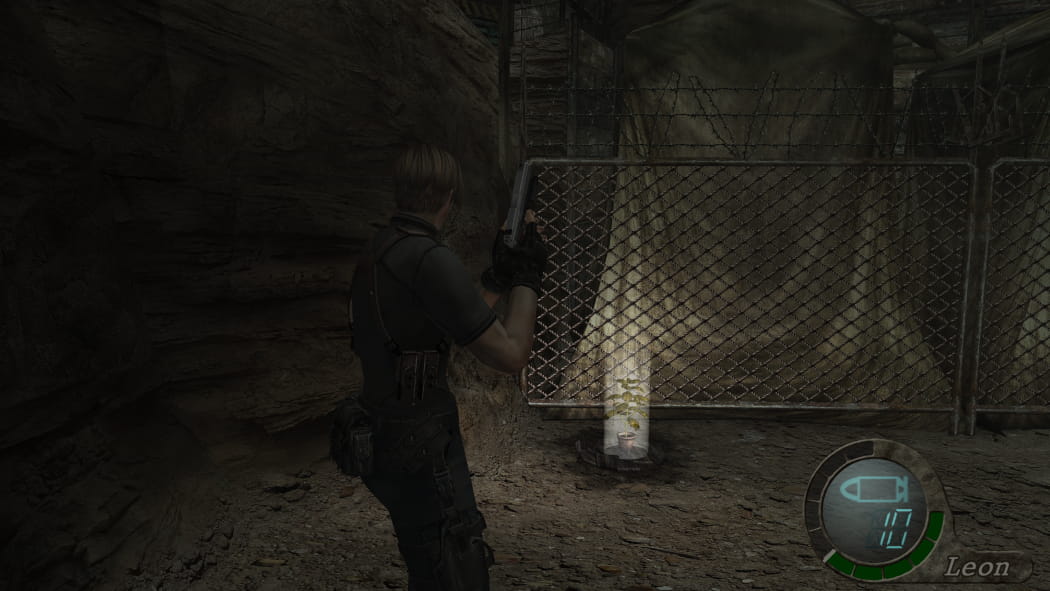
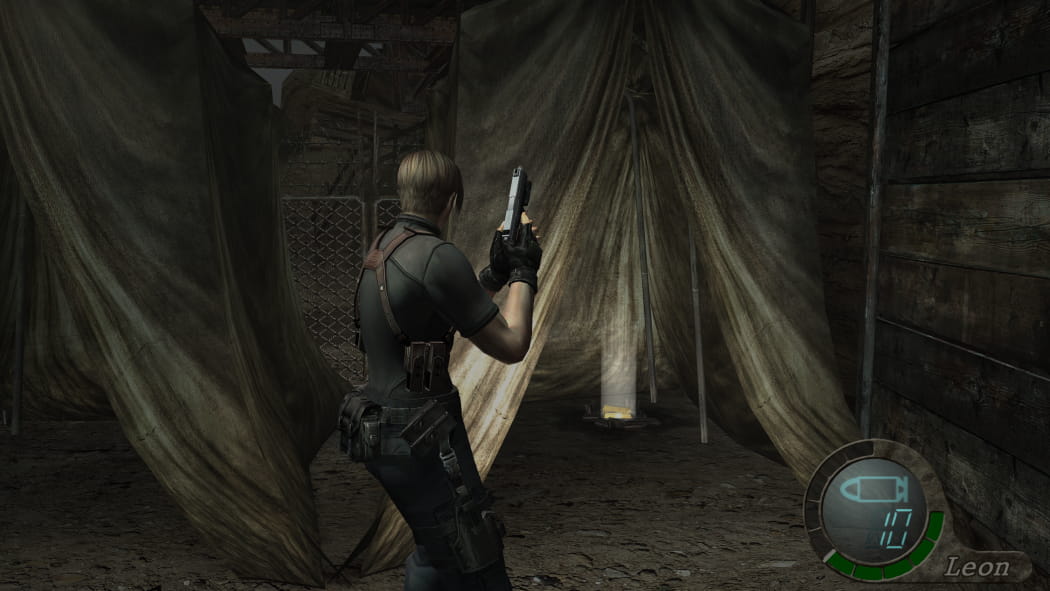
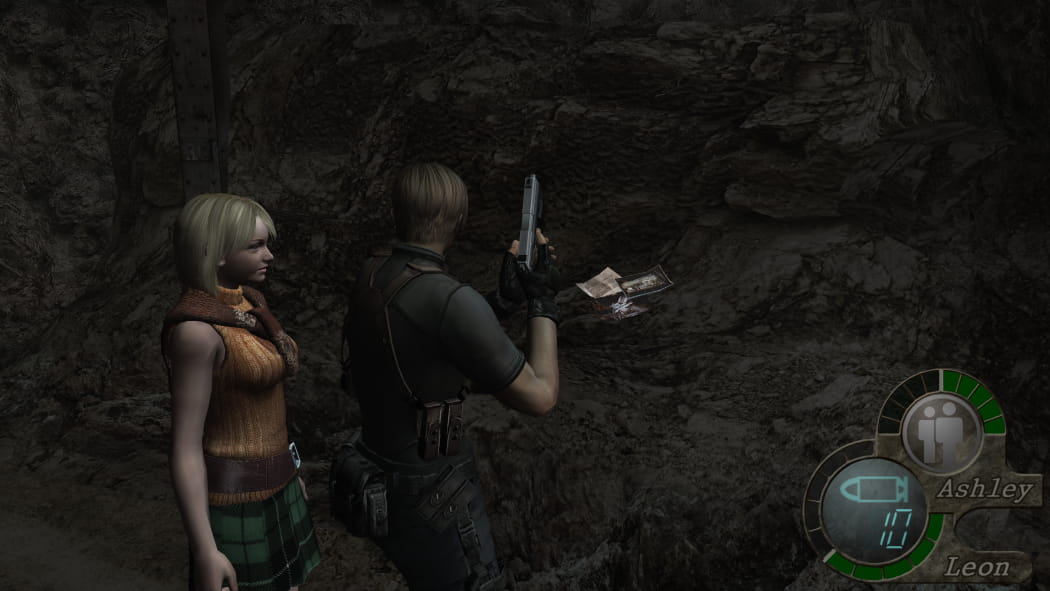
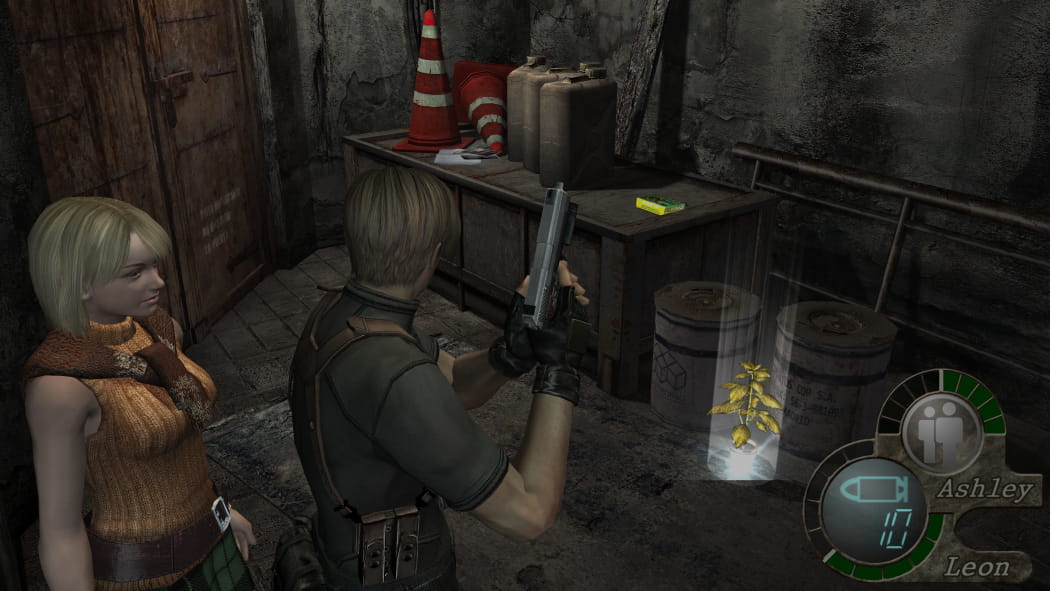
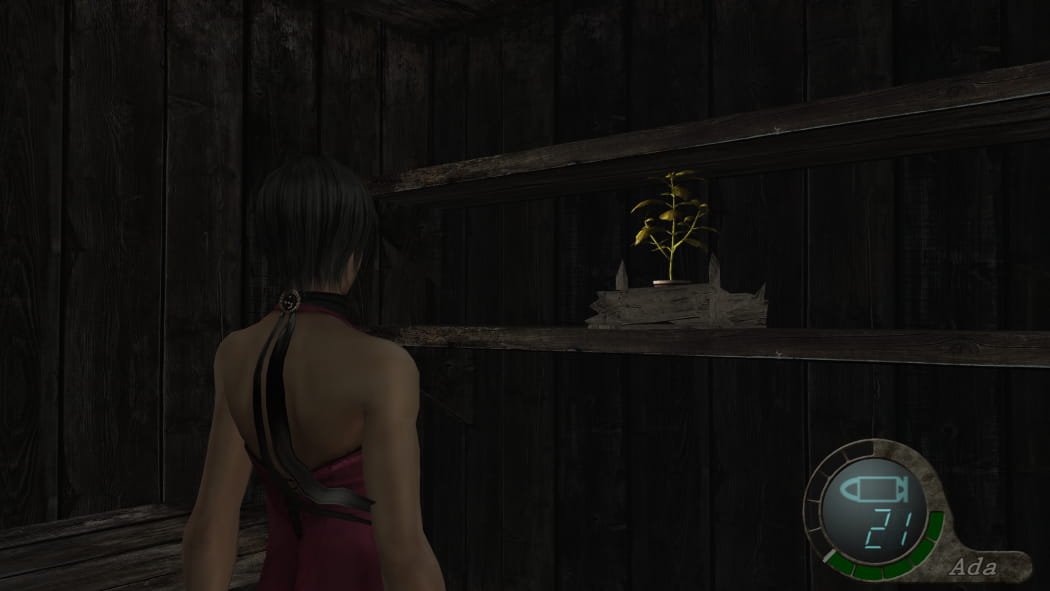
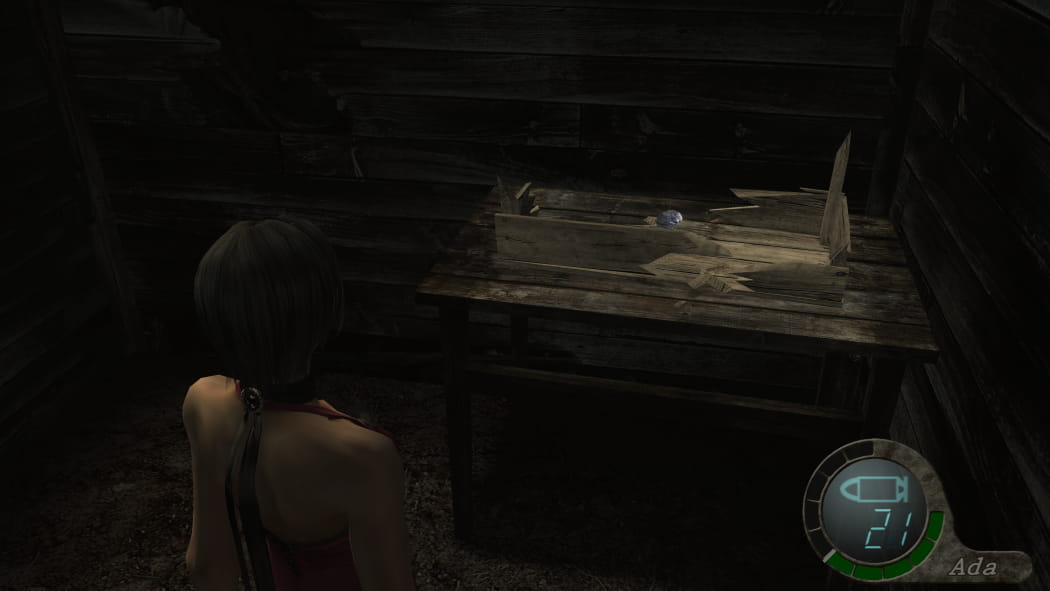
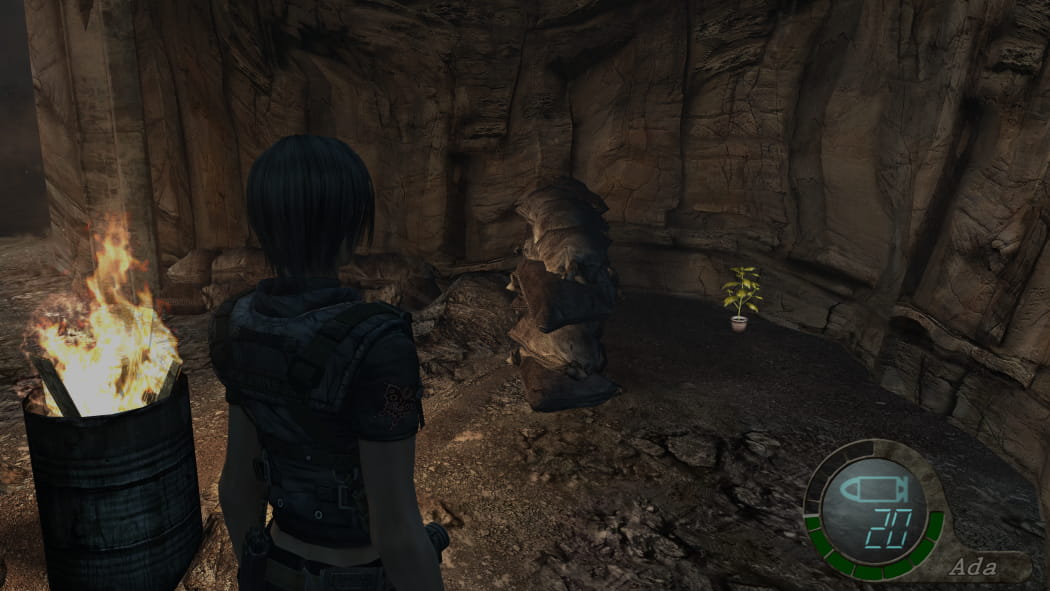
Yellow Herb #01
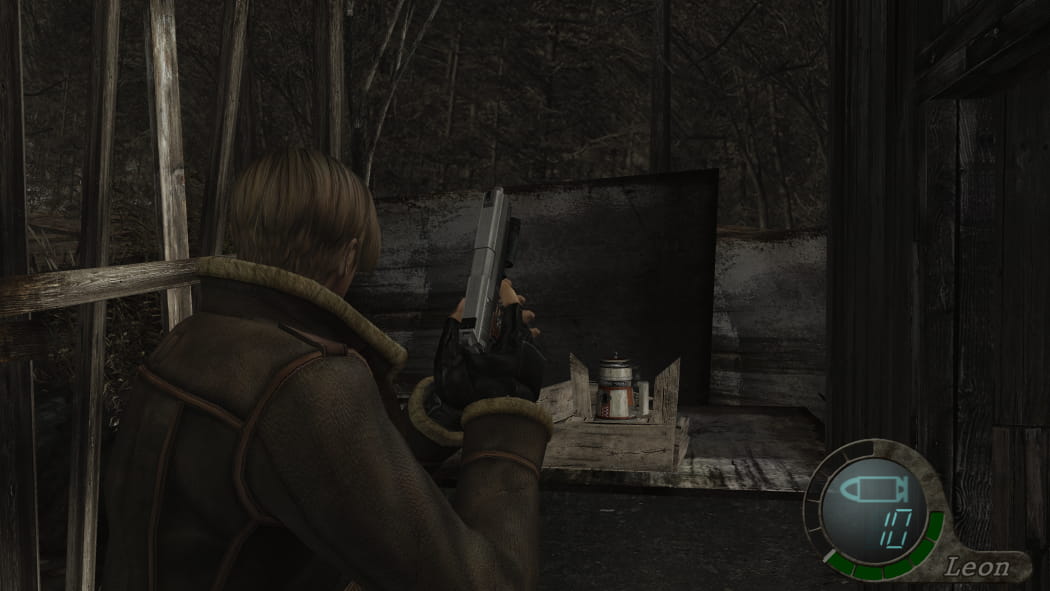
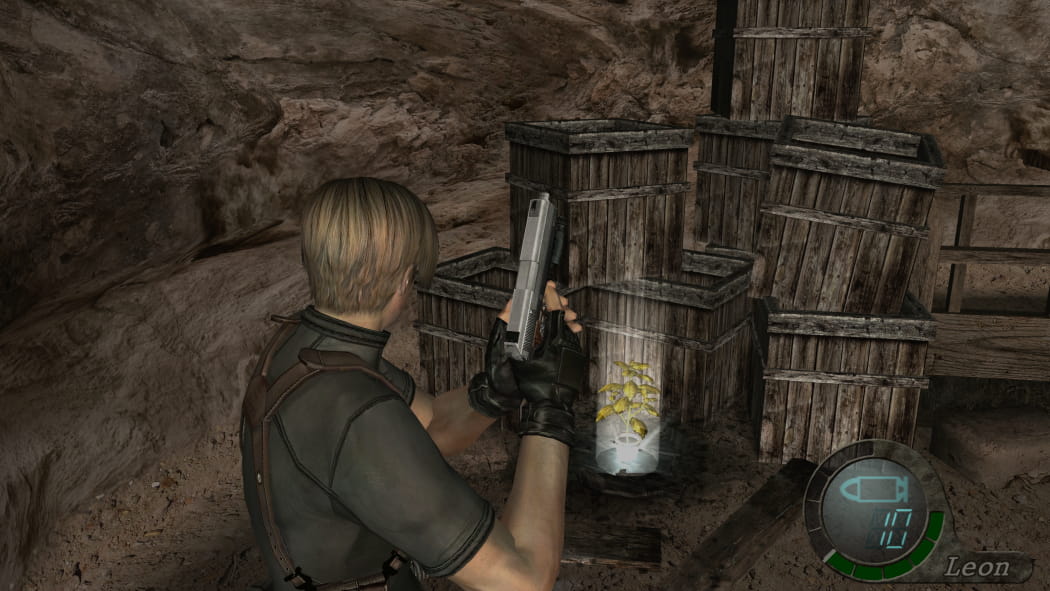
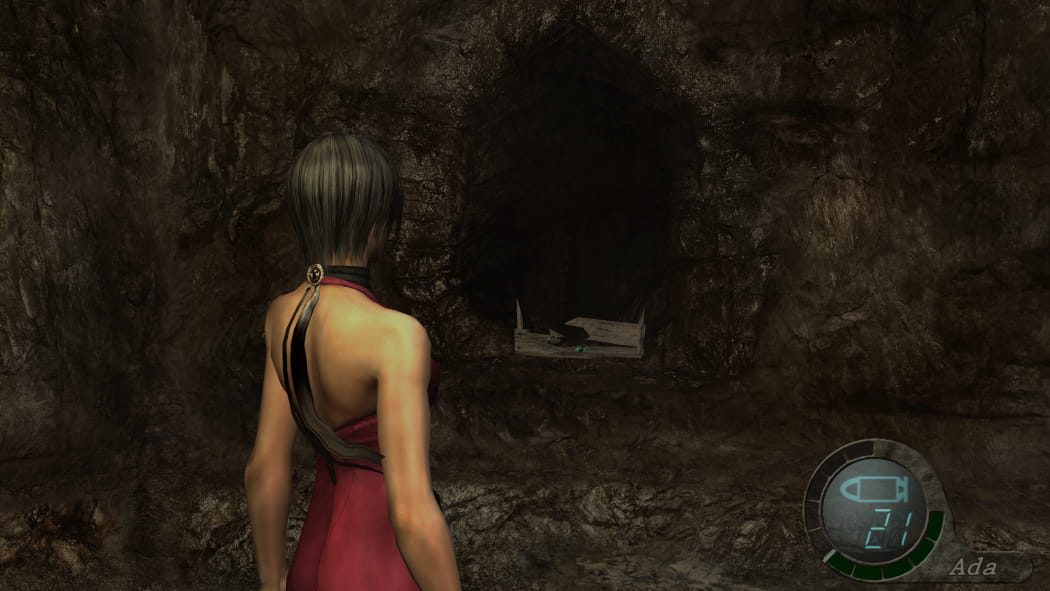
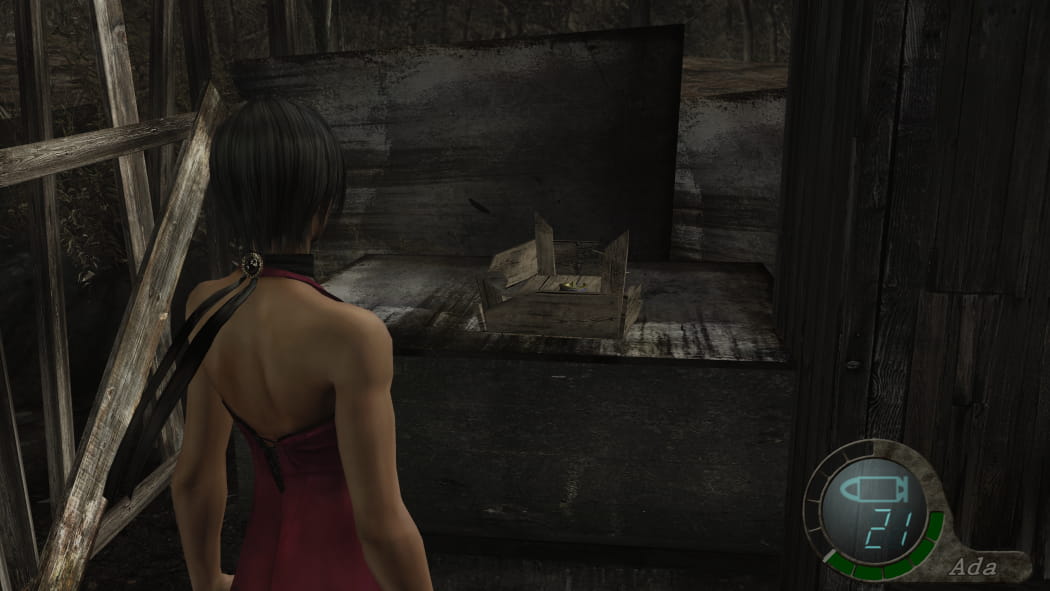
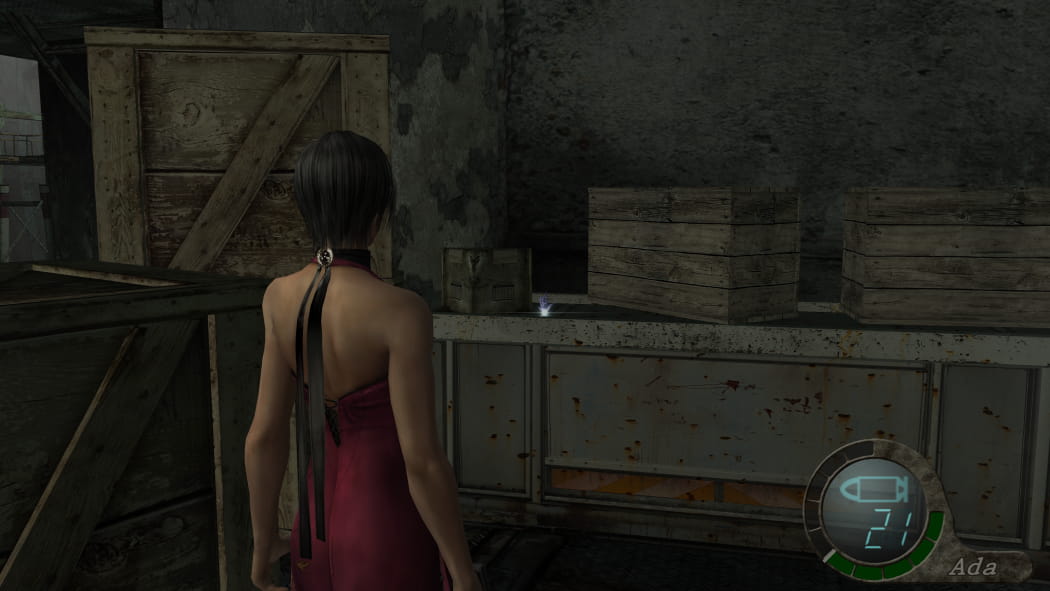
In a small crate behind the cow barn.
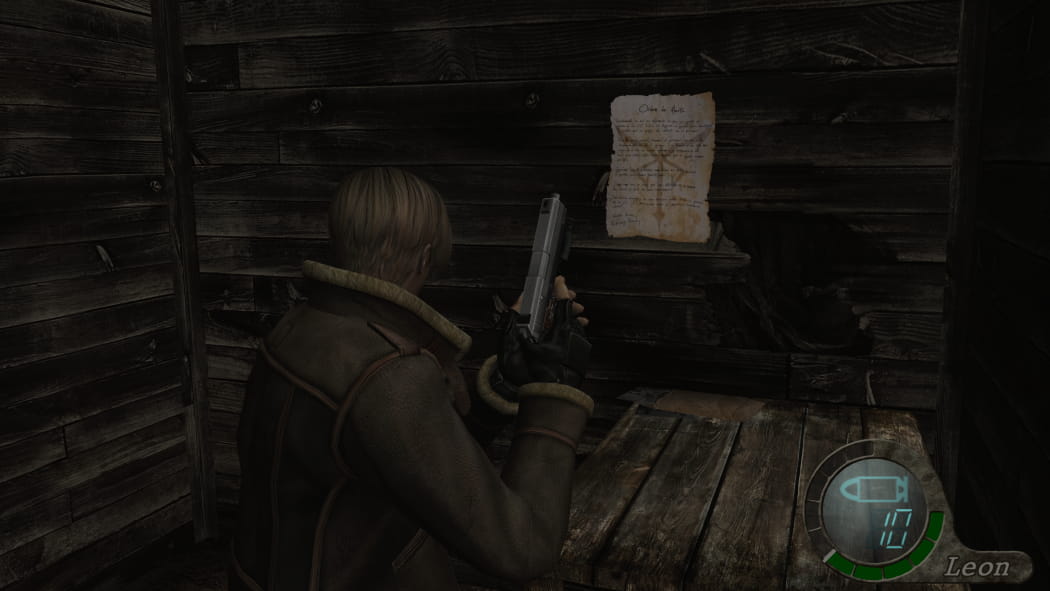
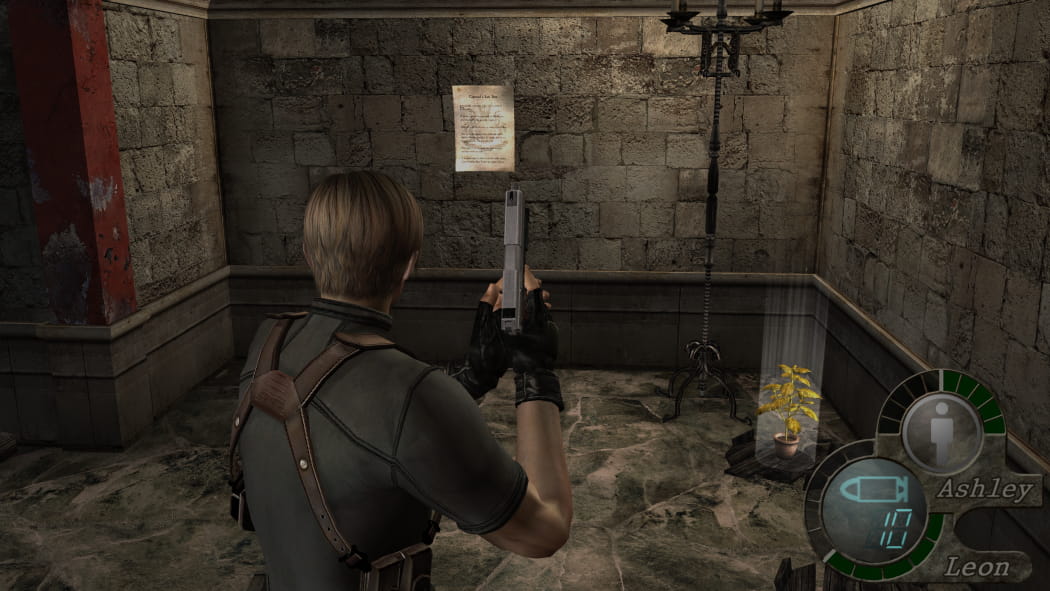
Document: Alert Order
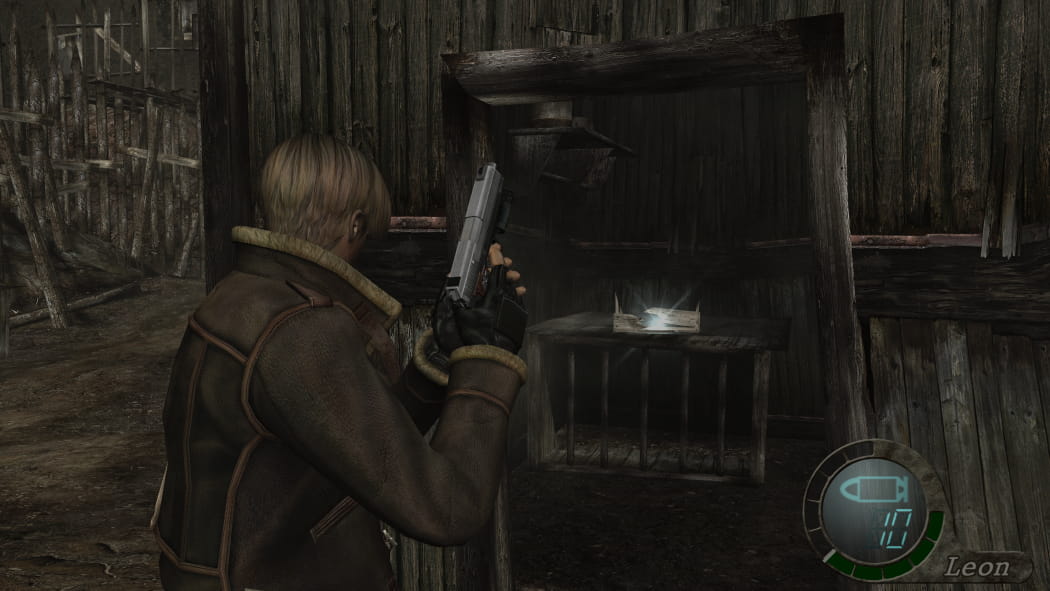
In one of the shacks near the door that leads into the next area.
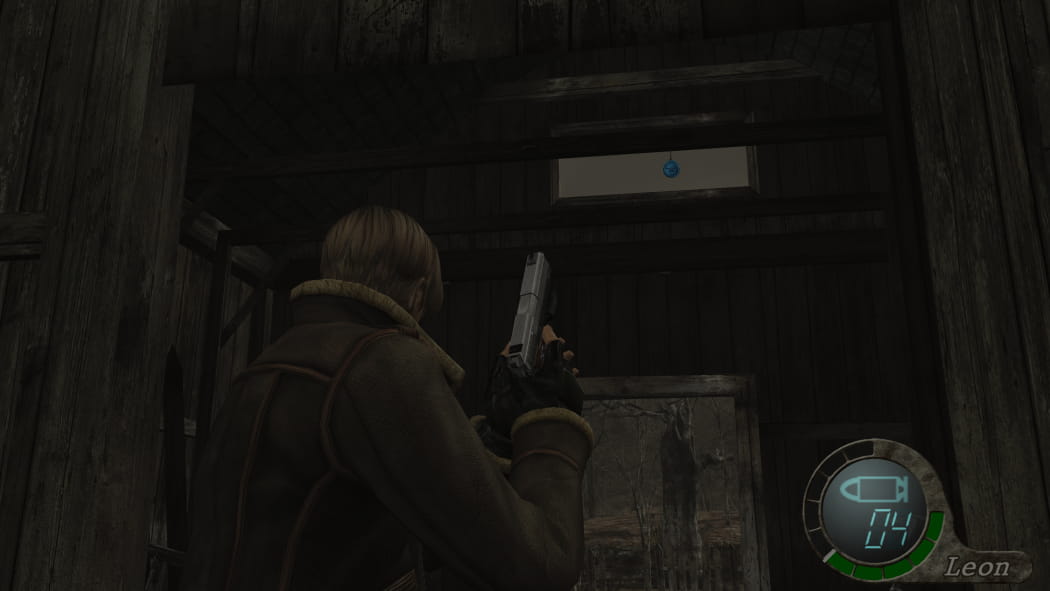
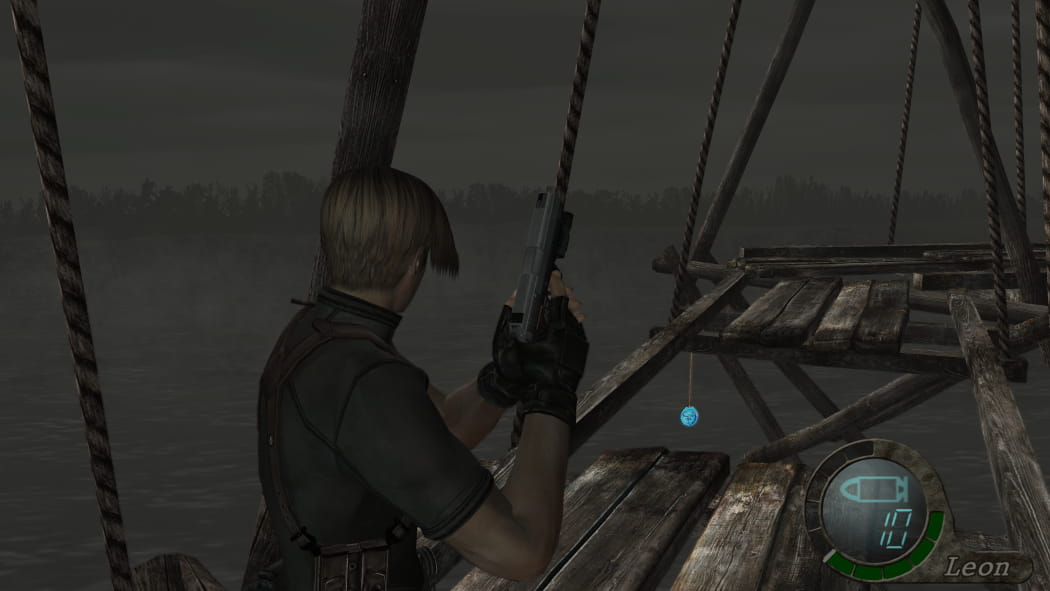
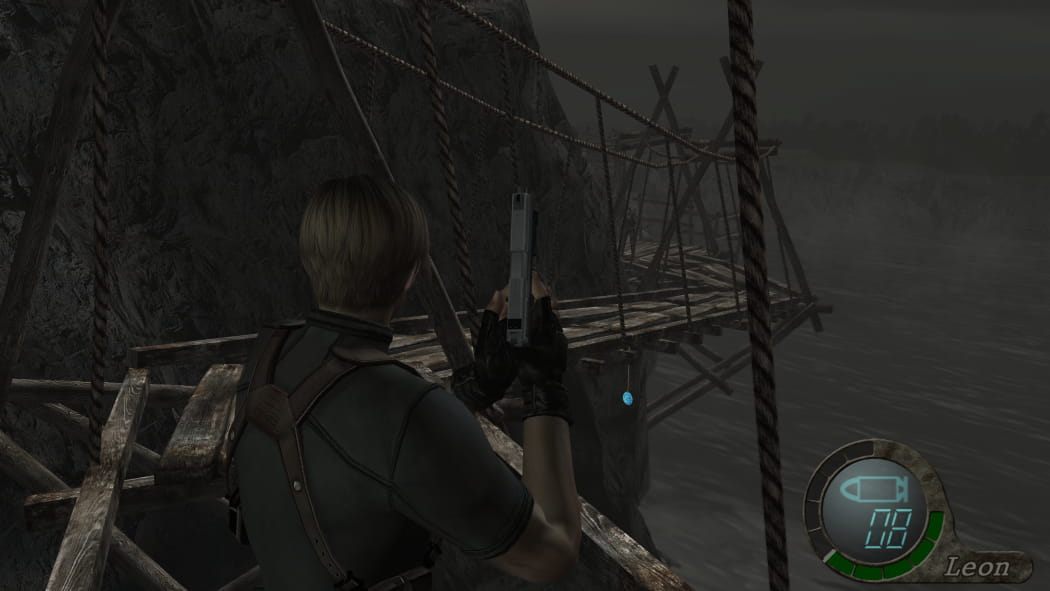
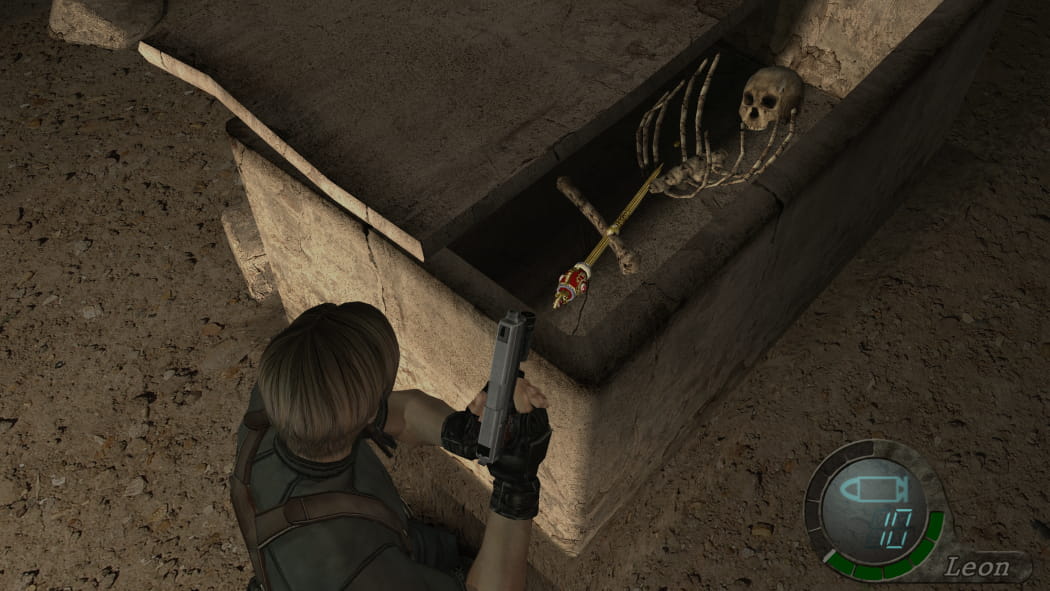
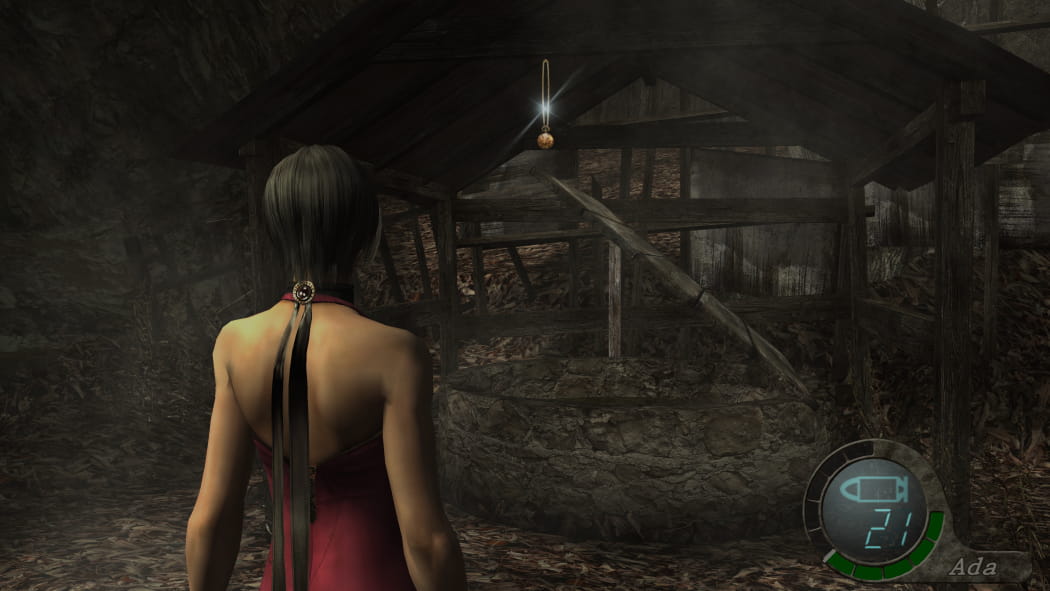
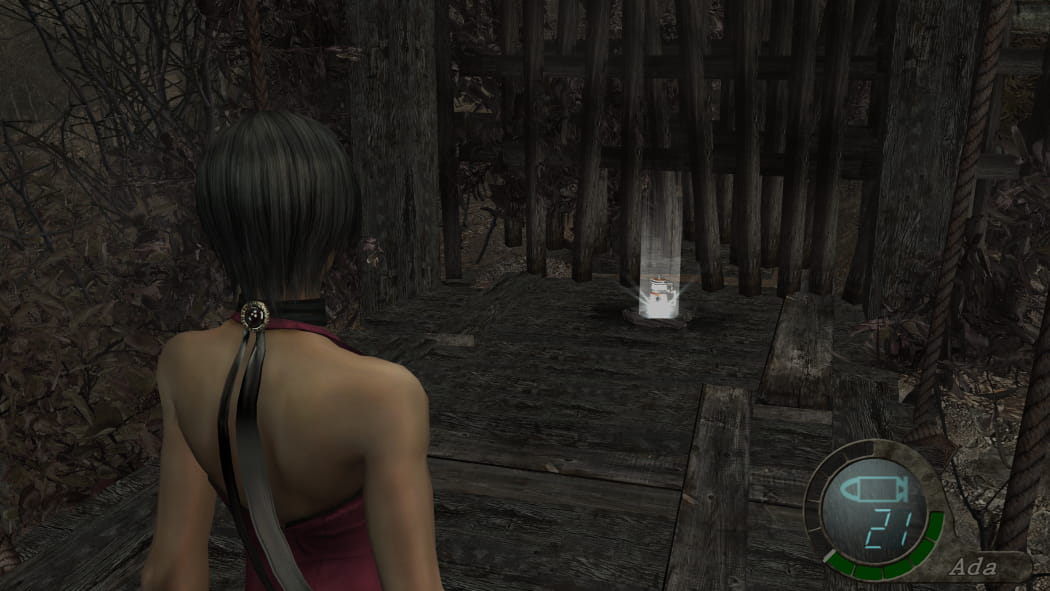
Pearl Pendant #01
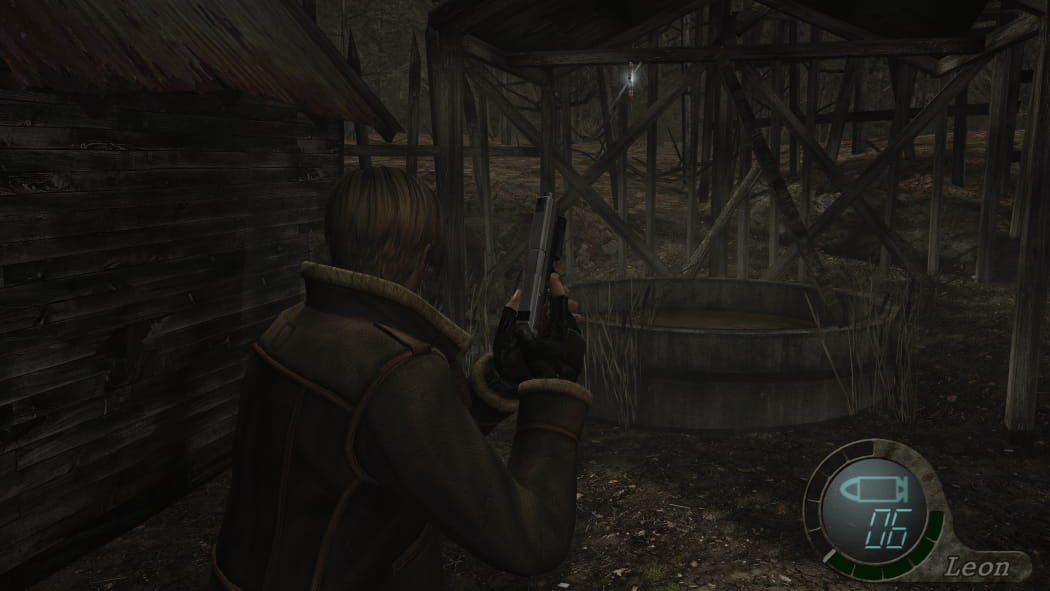
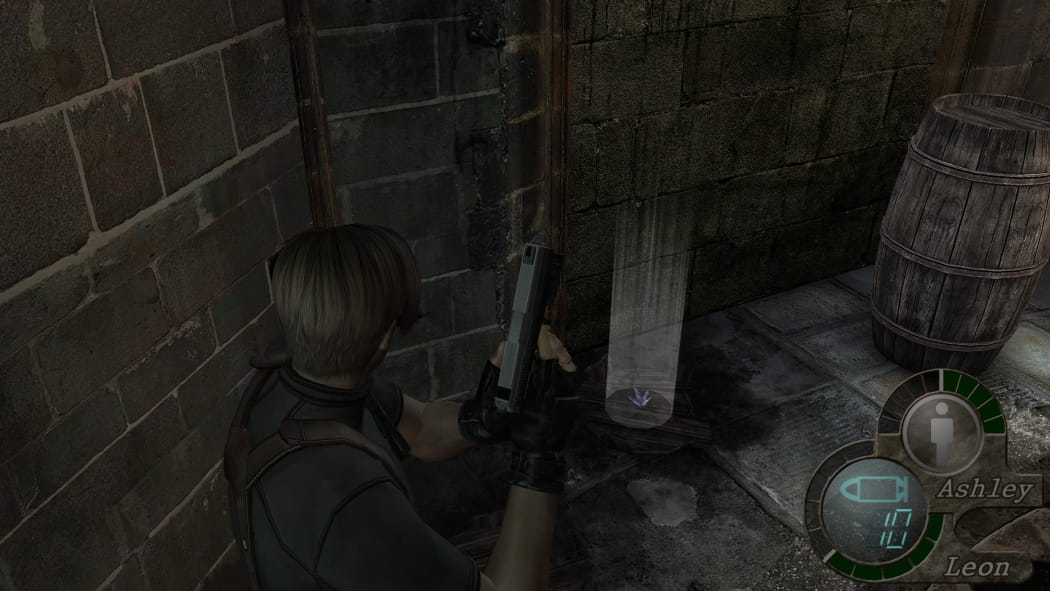
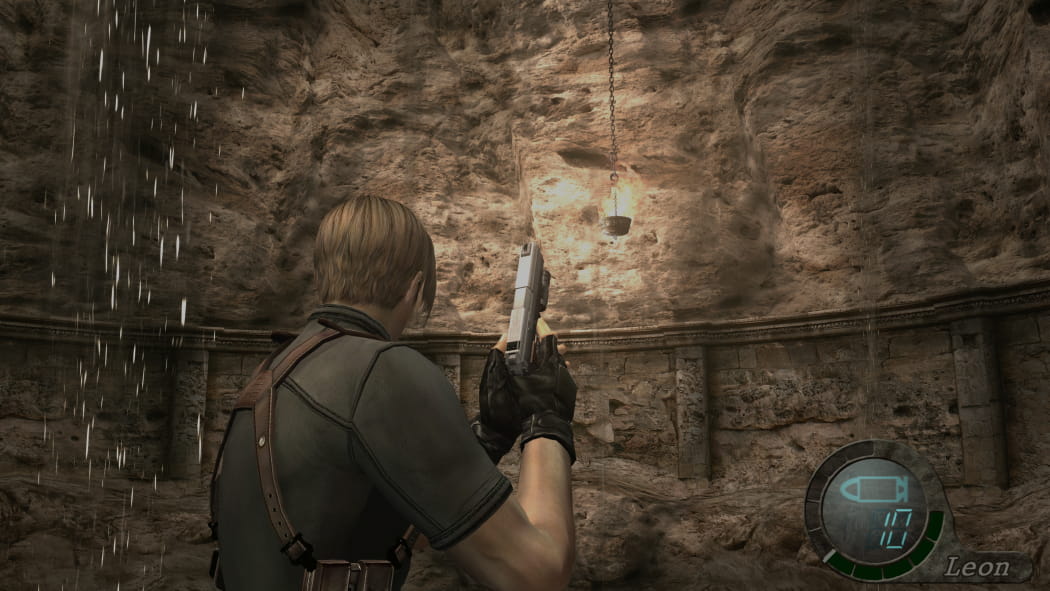
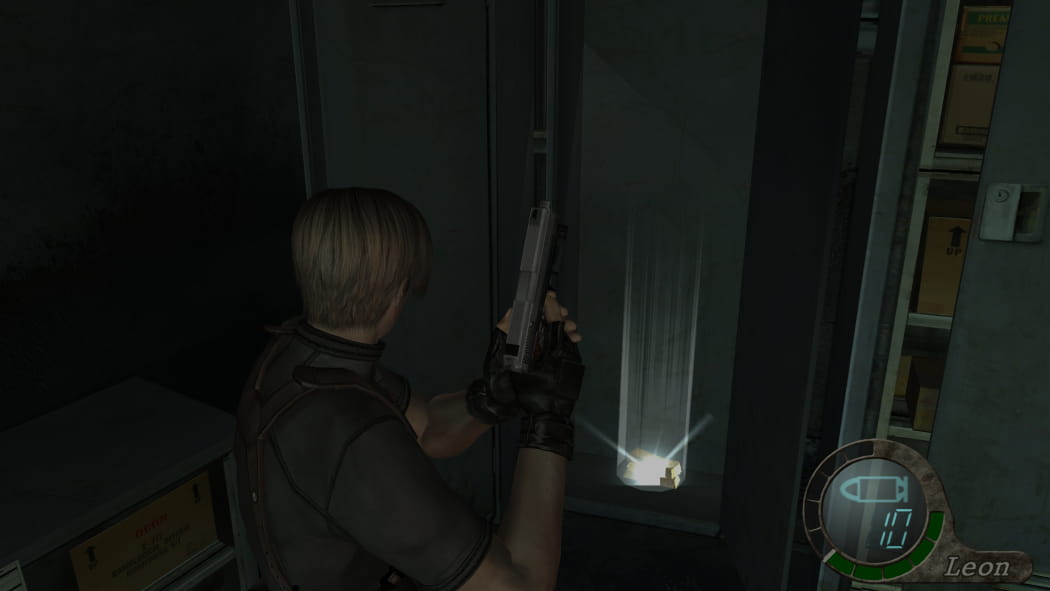
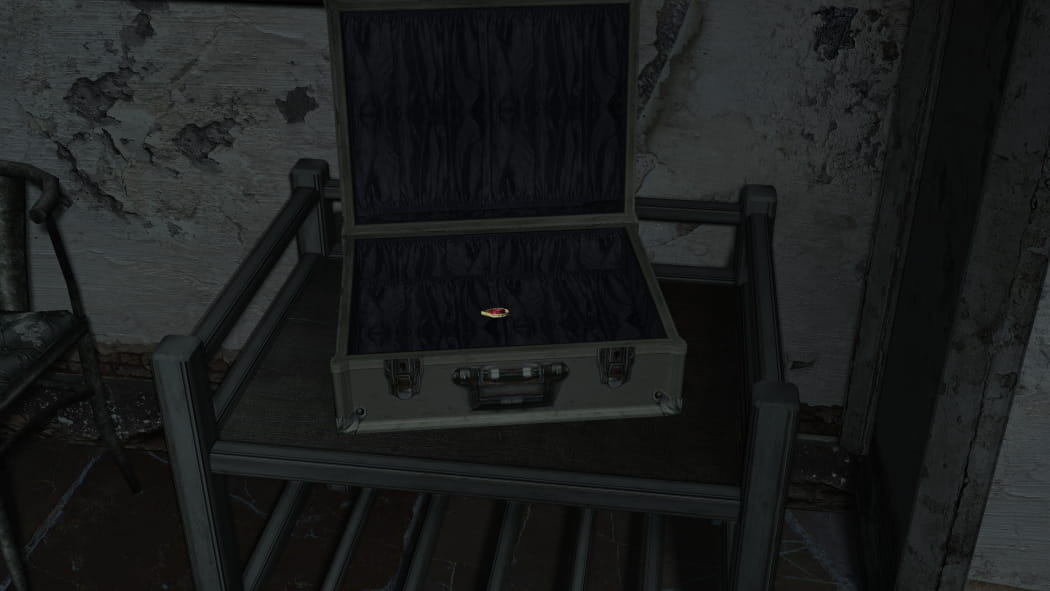
At the farm, hanging above the basin next to the shack with the typewriter. Close the lid first by shooting the stick that is holding it up to prevent it from getting dirty and losing most of its value.
Spinel #03
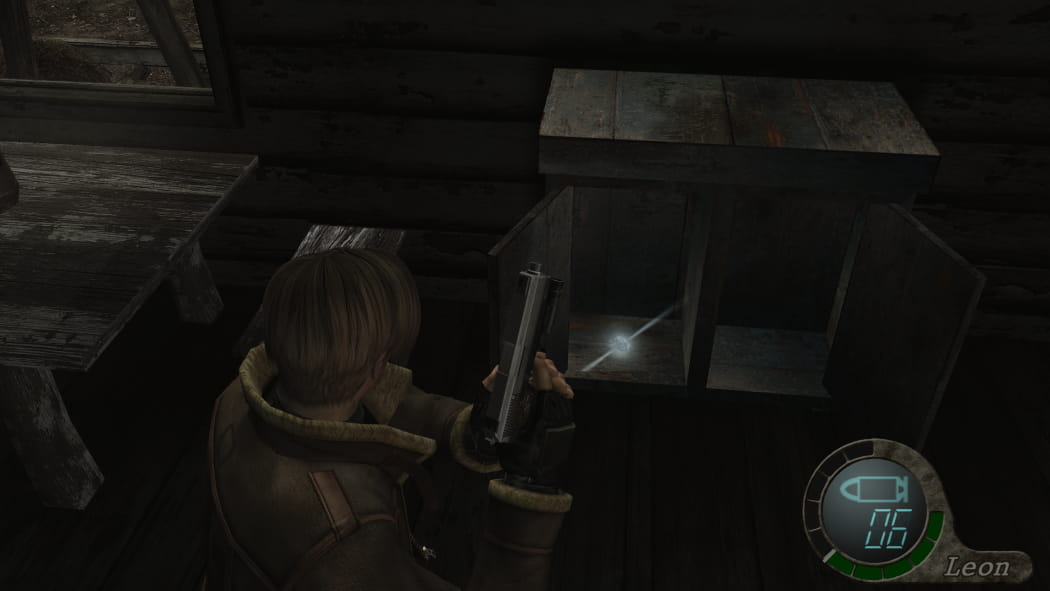
In a cabinet on the first floor of the 2-story barn.
Spinel #04
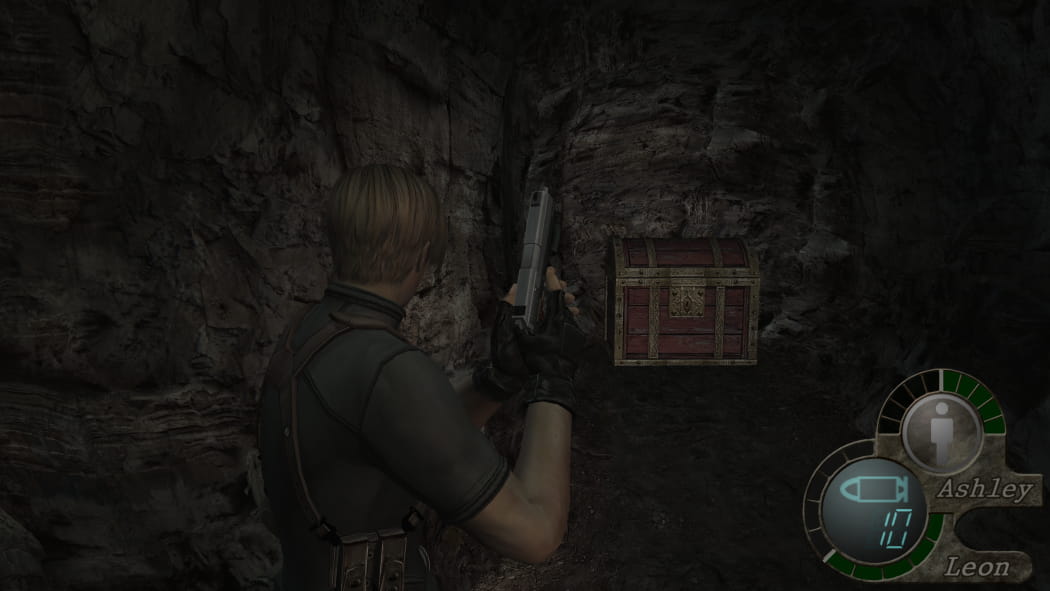
Inside a shack in the area with the huge barricaded door. You have to exit the 2-story barn through the upper window, then head to the barricaded door. The shack is nearby the ladder.
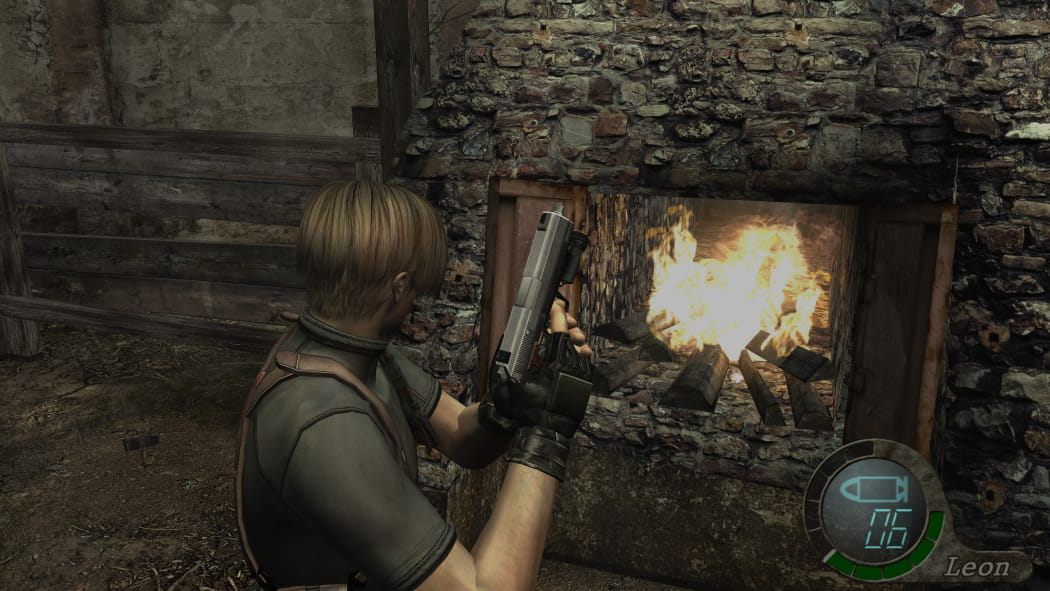
Beerstein
Exit the 2-story barn through the upper window, go a little forward and jump down. There's a small crate with a Beerstein hidden inside. This is the treasure where the Green, Red and Yellow Catseyes go in.
Document: About the Blue Medallions
On a tree near the entrance of the farm.
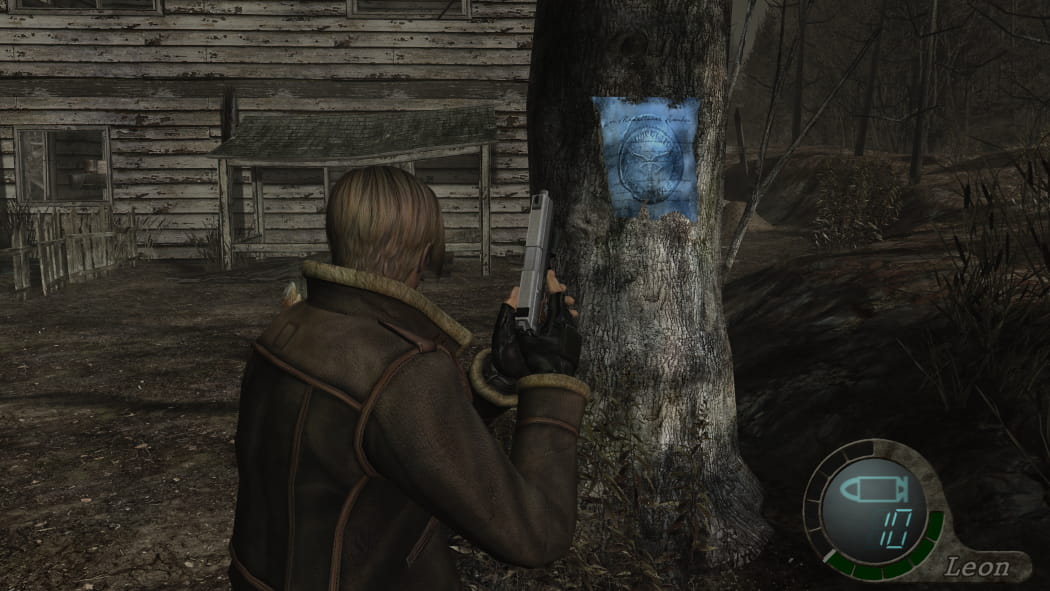
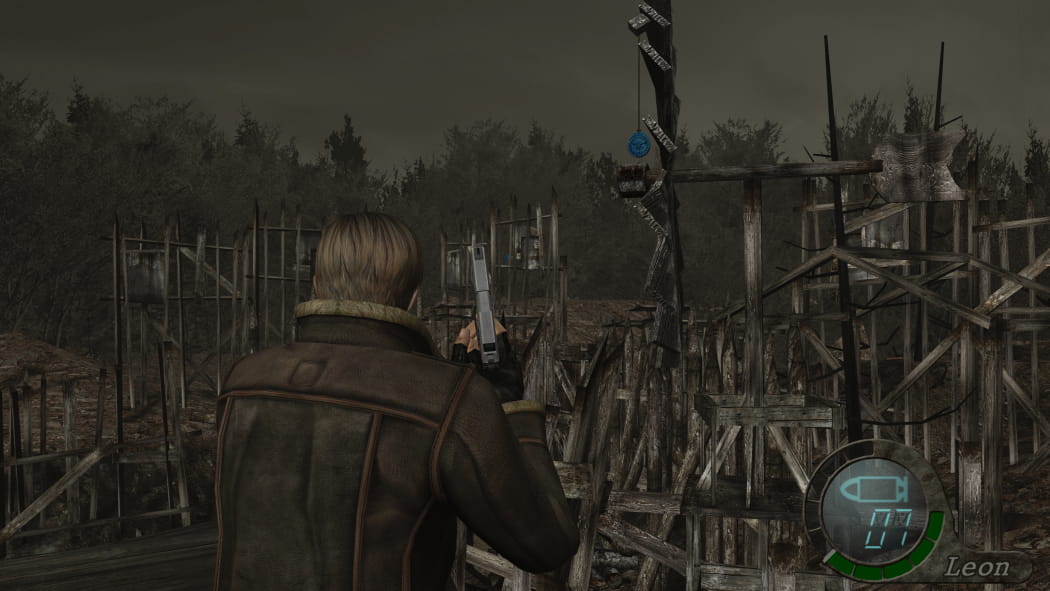
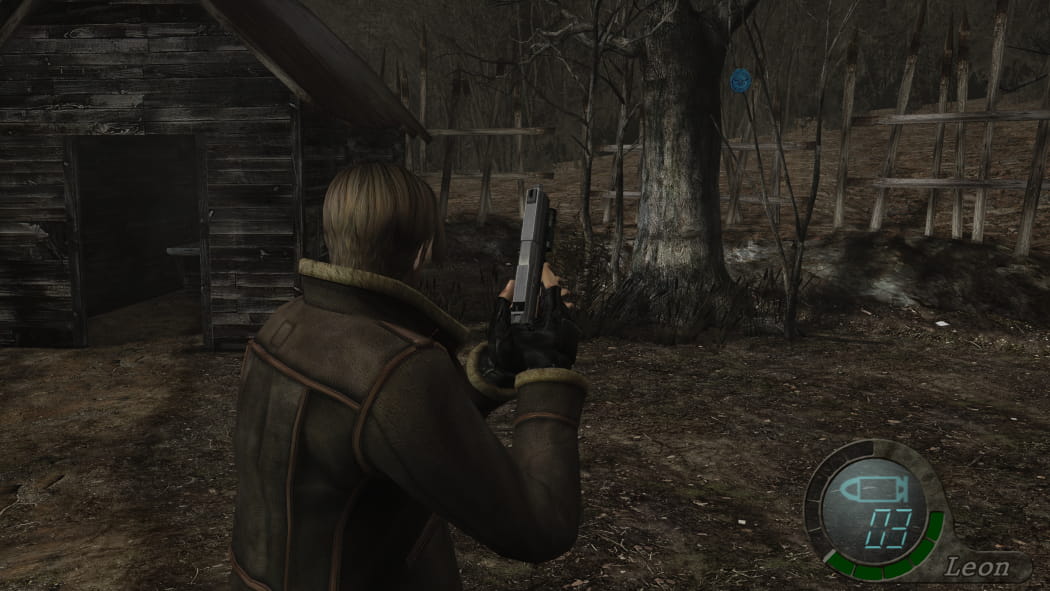
Blue Medallion #01
On the tree with the document.
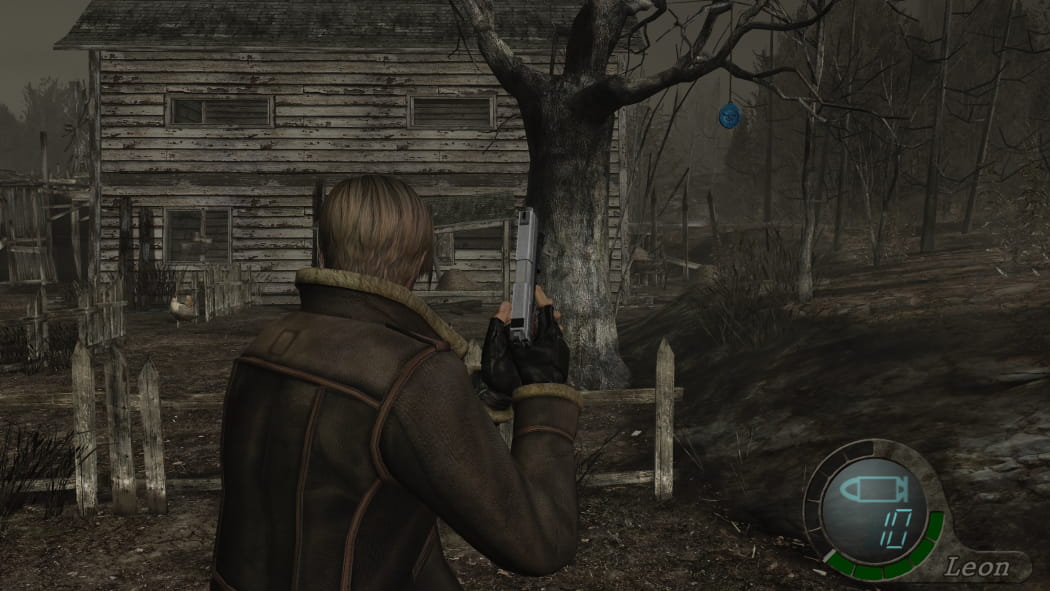
Blue Medallion #02
Outside, near the ceiling of the 2-story barn. From the entry point of the farm, it's the right side of said barn.
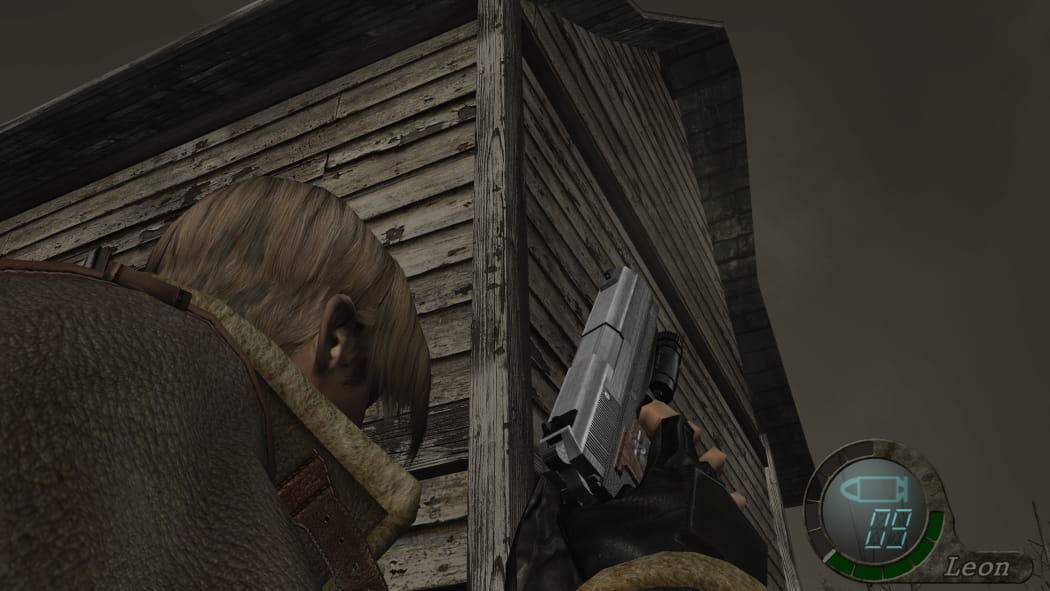
Blue Medallion #03
Upper window of the 2-story barn.
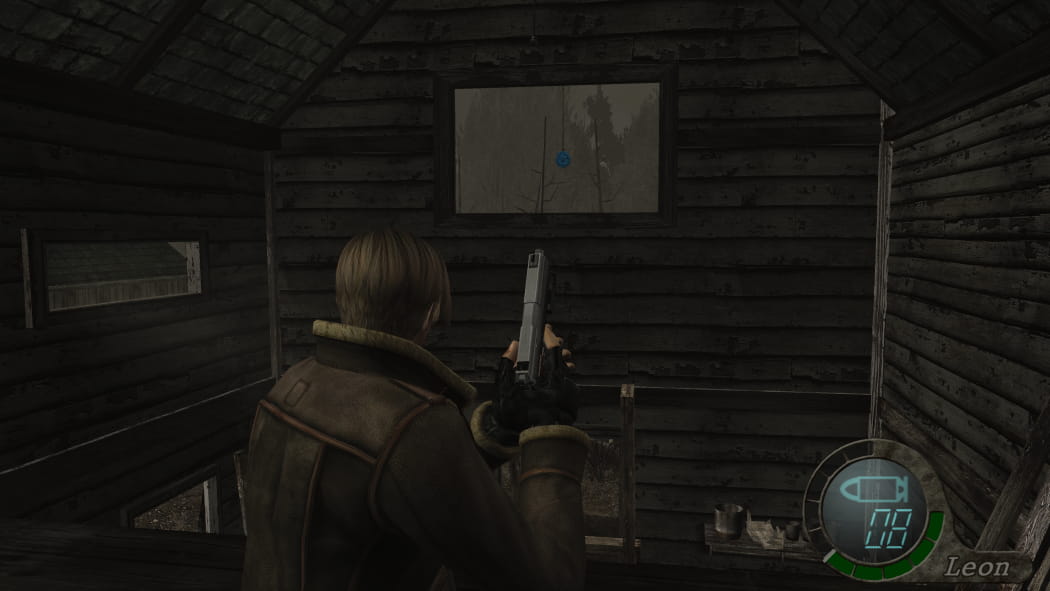
Blue Medallion #04
Windmill around the area with the barricaded door.
Blue Medallion #05
Above the barricaded door.
Blue Medallion #06
Upper window of the cow barn.
Blue Medallion #07
Tree in the back area of the farm, behind the cow barn.
Spinels #05-06
After dodging the rolling boulder, there are two spinels at the ceiling of a tunnel.
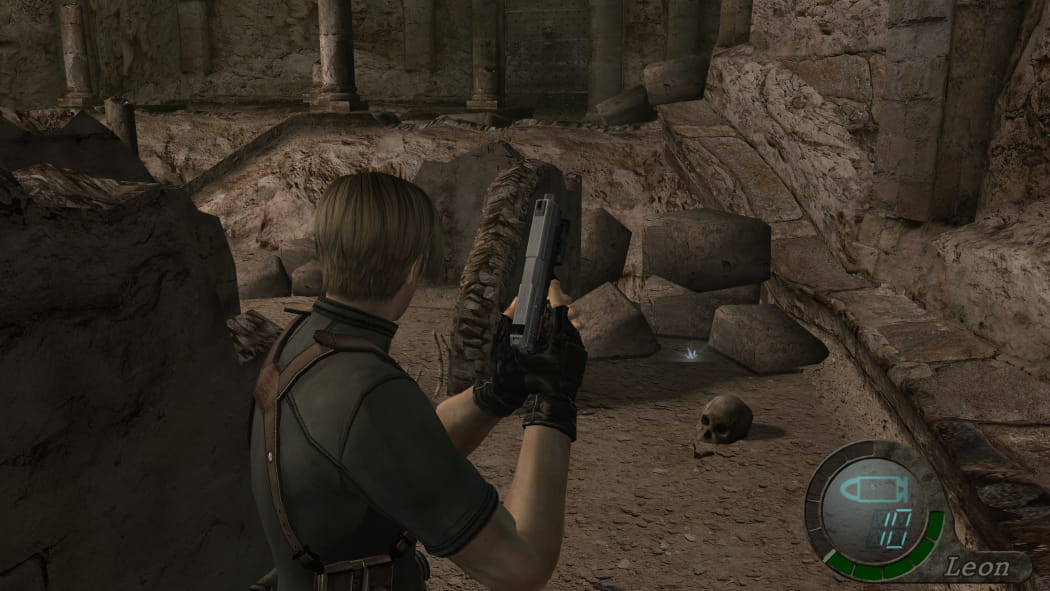
Spinel #07
After walking through the tunnel, there will be a shack to your left. One of the small crates contains another spinel.

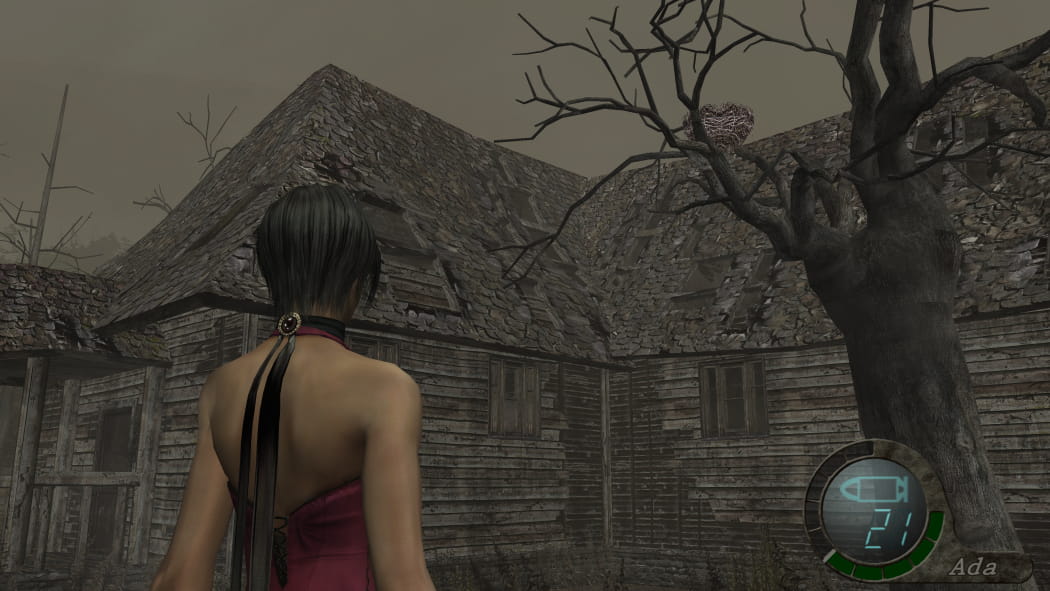
Red Catseye
Shoot down the birds nest from a tree near the final house of the chapter. This treasure can be combined with the Beerstein.
Chapter 1-2
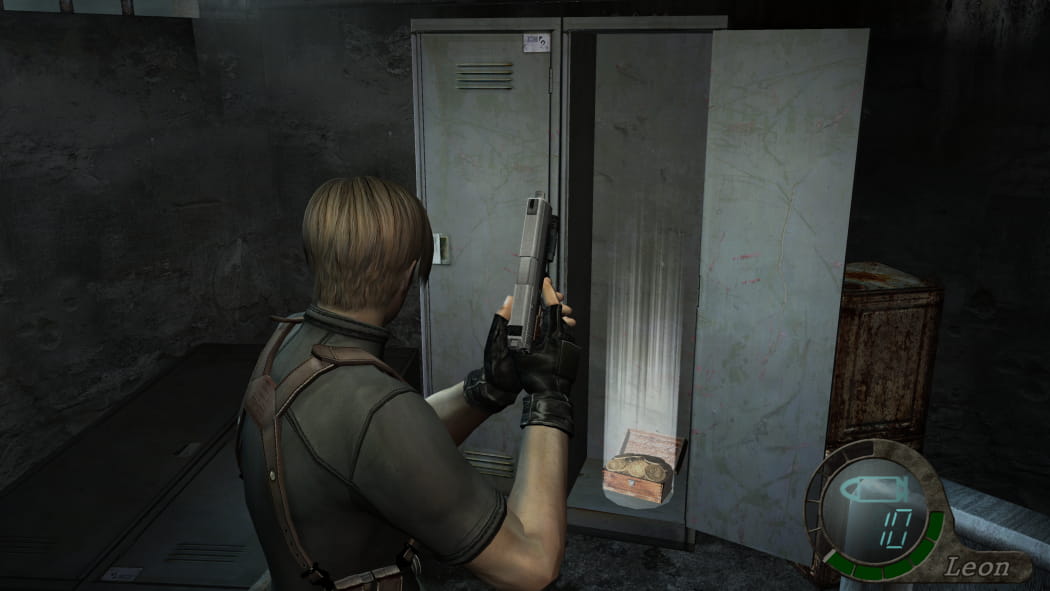
Yellow Herb #02
In a locker in the house before the door that requires the combined medallion to unlock.
Spinel #08
Inside a fireplace in a room full of bear traps. Open the doors to peek inside.
Elegant Mask #01
Right after exiting the room with the previous spinel, there will be a destructable boarded window to your left. Cominable with Green, Red and Purple Gems.
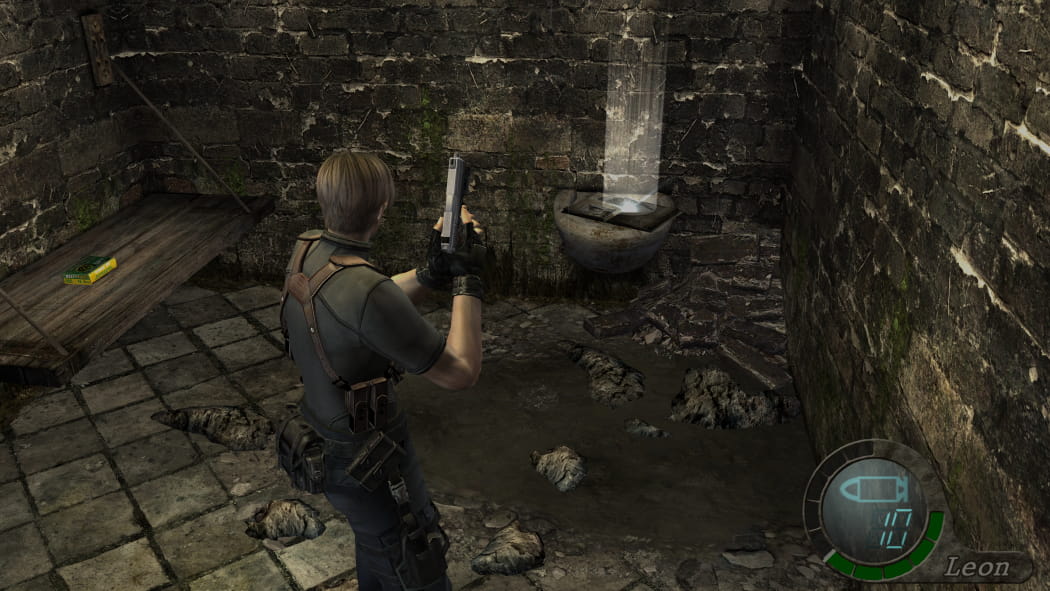
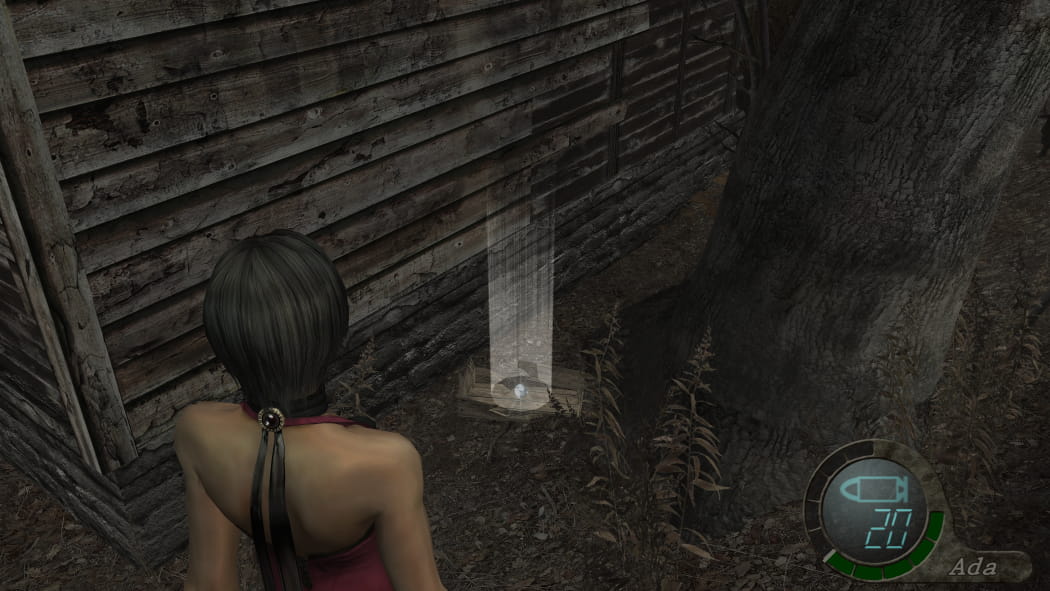
Brass Pocket Watch #01
Above a basin after exiting the underground area. Shoot the stick holding the lid first.
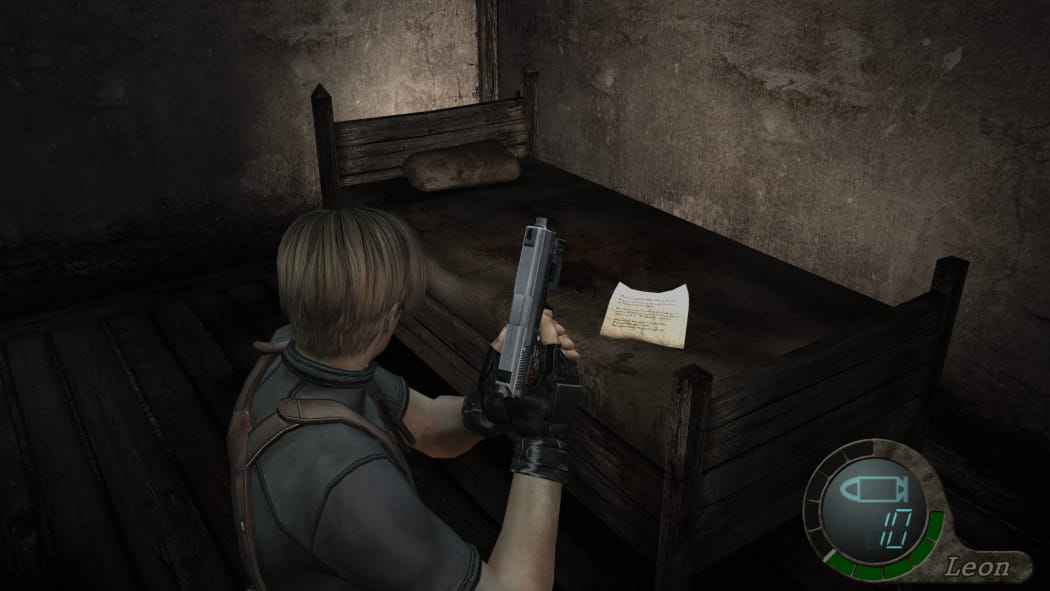
Document: Chief's Note
On the bed in the room holding the Insignia Key.
Chapter 1-3
Ruby #02
Dropped by the Chainsaw Ganado outside the manor.
Spinel #09
Shoot down the bird nest on the tree before reaching the small shack.
Spinel #10
After unlocking the door with the Insignia Key but before entering the underground area, shoot down the lantern from the ceiling.
Elegant Headdress #01 & Spinel #11-12
Destroy the lantern in the underground area above the puddle. This is going to unveil three treasure on the ceiling.
Blue Medallion #08
Follow the trail of the graveyard. There's a tree on the right side with a medallion and a shack nearby.
Blue Medallion #09
On a tree on the right hand side of the graveyard.
Blue Medallion #10
On a tree on the left hand side of the graveyard.
Blue Medallion #11
To the left of the church entrance.
Blue Medallion #12 & Green Catseye
At the backside of the church. The medallion hangs from the ceiling. The puzzle solution for the Green Catseye is 3-3-3-4-4-4-3. The treasure can be combined with the Beerstein.
Blue Medallion #13
While following the pathway beyond the church, you'll have to jump to make it across a gap. Turn around after doing so.
Blue Medallion #14
In close proximity to the previous medallion. After crossing the gap, look around. It's next to the entrance of the shack.
Blue Medallion #15
Before crossing another gap, look forward to spot the medallion hanging beneath the floor. With all of the medallions destroyed, you may get the Punisher handgun from the merchant for free.
Spinel #13
You'll reach an area with a bunch of crows waiting to be murdered. This is also the area that is hiding El Gigante. The first small shack on the right has a Spinel lying on the table.

Spinel #14
In the same area on a wagon.
Spinel #15
Right after dodging a rolling boulder, look above you.
Antique Pipe
About halfway through the swamp, there's a bird nest on a tree.
Gold Bangle with Pearls
Shoot down the bird nest in the lake area.

Yellow Herb #03
Inside a crate of the first shack in the lake area.

Chapter 2-1
Document: Anonymous Letter
On the bed right at the start of the chapter.
Spinel #16
Use the boat and make your way to the cave of the merchant, which is hinted by the blue fire torches. Go to the right and look up to destroy a torch.
Green Gem #01
Still in the cave with the merchant, go left and move the crates out of the way. On top of the building, one of the barrels hides the Green Gem. It can be combined with the Elegant Mask.
5 000 Pesetas
The first Ganado who is a parasite variant drops extra cash.
Spinel #17
After climbing down using a rope, look to your left and up.
Amber Ring
Just before the cave entrance that leads to the Round Insignia, there's an Amber Ring on some wood beam.
Spinel #18
Right after exiting the cave through a door, look to your right. There is a torch that can be destroyed.
15 000 Pesetas
Dropped by El Gigante.
Spinel #19
In one of the shacks during or after the El Gigante fight.
Spinel #20
In one of the shacks during or after the El Gigante fight.
Yellow Herb #04
On a wagon during or after the El Gigante fight.
Chapter 2-2
Spinel #21
In a bird nest right behind the wooden gate of the graveyard.

Spinel #22
Shoot down the lantern after leaving the tunnel but before leaving the Insignia House once more.
Spinel #23
Climb up the ladder of the watch tower in the village center. Exiting the Insignia House, it's immediately to your right.
Document: Sera and the 3rd Party
Next to the typewriter on the farm.
Yellow Herb #05
On a shelve during the cabin fight with Luis.
Chapter 2-3
Document: Two Routes
Next to the typewriter after the cabin fight. Note that you are able to do both routes if you wish to do so.

Ruby #03
On the left route, there will be two Chainsaw Sisters. One of them holds the Camp Key for that area while the other one drops a ruby.
Red Gem #01
Also on the left route, after getting the Camp Key and unlocking the door, there will be another door on the right. Enter the room and look to the left. There will be a boarded window, which can be destroyed. Follow the path to some barrels and ultimately to the Red Gem. This treasure can be combined with the Elegant Mask.
This door also leads to a brand new secret area, in case you are playing the Ultimate HD Edition using the RE4 HD Project.
15 000 Pesetas
The right route has another El Gigante. This one also gives 15 000 Pesetas.
Spinel #24
In the first shack of the El Gigante path.

Spinel #25-26
In the second shack of the El Gigante path.
Purple Gem #01
Hidden on a bucket high up in the route to the right. After the second shack, look up. Can be combined with the Elegant Mask.
Document: Village's Last Defence
In the safe house after completing either or both of the routes.
Yellow Catseye
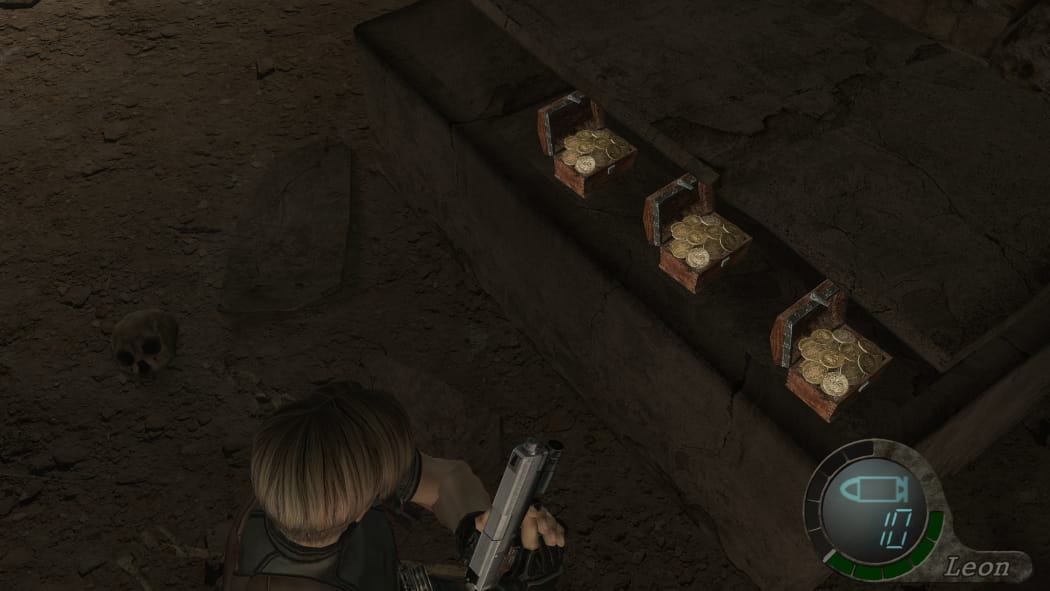
After riding the gondola, don't make your way to the merchant yet and instead head to the cave. Be mindful that there are two Ganados waiting to throw stuff at you, but it is possible to snipe both from the outside. There's a chest at the end of the cave with the Yellow Catseye in it. This one can be combined with the Beerstein.
30 000 Pesetas
Mendez drops 30 000 Pesetas. He is weak to incendiary grenades.
Spinel #27
During or after the fight with Mendez, there's an explosive barrel to your right from where you gain control. The Spinel is hidden inside that explosive barrel, so you have to destroy it.
Yellow Herb #06
In the upper area during or after the fight with Mendez.
5 500 Pesetas
When heading towards the castle, there will be a truck trying to drive over anybody and their mom. After making the truck fall over, it's possible to loot it for some extra money.
Velvet Blue #01
Don't rush into the castle right away, but pay attention to your left when heading towards it. There are two barrels, one of which contains the first Velvet Blue.
Chapter 3-1
Spinel #28
Destroy the barrel nearest to the staircase right at the start of the chapter.
5 000 Pesetas
Behind the building in which the merchant has opened shop.
Spinel #29
Under the rubble of the chapel that gets destroyed by a catapult early on in the next section.
Velvet Blue #02
After the chapel gets destroyed, head down the stairs on the left. You'll reach a bunch of barrels with a Velvet Blue inside the center one.
Velvet Blue #03
Follow the path into a building. There will be some crates on the left side. The upper one contains another Velvet Blue. Note that if you shoot the cannon, any and all enemies despawn, even if Ashley is being carried away. This can save you some ammo and time.
Yellow Herb #07
Inside a chest in the same building.
Gold Bangle #01
In a chest to the left of said building.
Spinel #30
After blowing up the gate using the cannon, destroy the torch next to the door leading into the next area.
4 500 Pesetas
While solving the puzzle with the Gold and Platinum swords, a Ganado in a red cloak will appear. Killing him grants you 4 500 Pesetas.
Spinel #31
In the same room, destroy the lower of two crates on a shelve.
Velvet Blue #04
Destroy the barrel next to the chest containing the Castle Gate Key.
Purple Gem #02
In the main hall inside the castle, pass the archway, turn around and look up. Can be combined with the Elegant Mask.
Velvet Blue #05
Inside one of the pots on the left side (from entrance) of the same room as the previous treasure.
5 000 Pesetas
In the same room as the Prison Key, check the picture of Saddler.
Document: Capture Luis Sera & Yellow Herb #08
Before grabbing the Prison Key, there will be a document on the wall and a yellow herb in a barrel right next to it.
15 000 Pesetas
The first Garrador of the game drops 15 000 Pesetas.
Velvet Blue #06
In a small pot next to the entrance door of the water room. Shoot down the crossbow enemies with a sniper rifle first, before attempting to do anything else.
4 500 Pesetas
There will be a Ganados in a red cloak when entering the water room. Killing him gives you 4 500 Pesetas.
5 500 Pesetas
Another red cloaked enemy, this time equipped with a scythe, is going to appear once the crank has been used to pull down the stairway.
Spinel #32
In the area after the water room, there's a statue that is seemingly hanging upside down from the ceiling. Its right eye is filled with a Spinel.

Document: Target Practice & Shooting Range A
The first shooting range can be visited before going into Chapter 3-2. You'll receive 15 000 Pesetas for collecting the first six bottlecaps. The shooting game needs to be repeated multiple times. Hitting five targets in a row (regardless of head or body shots) makes a Salazar target appear for extra points. Arguably, tap firing with the TMP is one of the best ways to got about it, with the pistol being a decent alternative. Missed bottlecaps can still be acquired at later shooting ranges.
Chapter 3-2
Novistador #01-12
There are 12 Novistadors in the sewer section, randomly dropping Red, Green and Blue Eyes. These can be combined with the Butterfly Lamp.
- Tunnel entrance heading right
- Tunnel entrance going straight forward
- Pool with a Velvet Blue
- Pool with a Velvet Blue
- From the hole in the ceiling
- Coming out of the front left cell
- Coming in when entering the rear left cell that contains Luis' Memo
- On the backway after draining the water
- On the backway after draining the water
- Coming out of the cell with the rusty door after going back
- From the hole in the ceiling
- Behind you, after kicking down the door that required draining the water
Velvet Blue #07
In the first pool of the sewer section next to two Novistadors.
Document: Luis' Memo
Inside the rear left cell.
Yellow Herb #09
Inside the front right cell, next to a dead body.
Butterfly Lamp #01
In a chest inside the same room as the valve handle that drains the water. This is where Red, Green and Blue Eyes that are dropped by Novistadors go into.
Velvet Blue #08
In the left corner after kicking down the door that required draining the water.
Velvet Blue #09
In the corner to the right, right after dodging multiple swinging blades.
Spinel #33
In a barrel after climbing up a ladder, right before leaving the sewer section.
Spinel #34-43 & Illuminados Pendant #01
After exiting the sewers, there will be 11 cultists performing some kind of ritual. They are going to try to escape, so you should throw a hand grenade to kill most of them, then throw a flash grenade to stun the rest. Shoot them in the legs to make sure they can't run away, at least until the door closes. There are up to 10 Spinels (depending on the version of the game there could be less enemies in that area) and the Illuminados Pendant from the red cultist to get.
Velvet Blue #10
In the upper area of the hall, use the chandelier to swing over to the other side of the room. On the left, there will be two large pots. The one on the right contains a Velvet Blue.
Elegant Mask #02
Swing back using the next chandelier. There's a chest behind some glass with a new Elegant Mask. Cominable with Green, Red and Purple Gems.
Document: Castellon Memo
On the table in the first room of the next area.
Velvet Blue #11
Inside one of the pots in the room thereafter.
4 000 Pesetas
There's a total of 4 000 Pesetas sitting on a shelve right about when you need to hunt down a red clothed cultist for the Gallery Key. This is also the position from where you can try to use a sniper rifle to shoot the cultist multiple times in the head to kill him early.
Velvet Blue #12
After using the Gallery Key, there will be a deer head on the left wall. There's a Velvet Blue on said deer head.
Yellow Herb #10
Once the puzzle beyond the gallery has been solved (4-2-1-3), you may proceed into the next room. After another cutscene with Salazar, you'll find yourself in front of multiple scythe weilding Ganados. To your right will be a door with an alternative way to move to the upper floor. This is also where a yellow herb is hidden.
Spinel #44
In the same area as the previous yellow herb, there's a Spinel sitting on one of the chairs. If you prefer to save some ammo, you may get the ornament without killing all enemies, which unlocks the door to leave the room early. The enemies disappear thanks to that, so you may re-enter the area safely.
Spinel #45
You'll reach a small passage filled with crows, with a Spinel hanging on the wall above a door.
Velvet Blue #13-14 & Spinel #46
Not long after the previous treasure, you'll encounter a fountain with crows sitting on it. On the fountain are sitting two Velvet Blues and one Spinel. You may also shoot down crows in the air right above you to get extra money.
Velvet Blue #15
Having reached the hedge maze, the first barrels you find hide another Velvet Blue.
Yellow Herb #11
There's a new yellow herb in the southwest corner of the maze.
Red Gem #02
In the south of the maze, there's a chest with a Red Gem in it.
Spinel #47
In a dead end, in the middle of the northern part of the hedge maze.
Chapter 3-3
Spinel #48
On the ceiling above the bed at the start of the chapter.

Spinel #49
In a pot on the table next to the bed.
Document: Female Intruder & Mirror with Pearls and Rubies
There's a document on the table and a treasure in the cabinet next to the merchant.
Novistador #13-14
Before doing the puzzle in the dining room (shooting the glass of wine), it's possible to make a detour by going south. Depending on the game version you are playing, there can be two Novistadors hanging from the ceiling.
Spinel #50
In the same room as the two potential Novistadors is a large vase next to a door, in which a Spinel is hiding.
Hourglass with Gold Decor & 15 000 Pesetas
Continuing on, you'll be trapped in a cage upon entering a room with a chest in the center. This is where a Garrador and a bunch of enemies are going to spawn in. It's possible to blind most enemies using a quick flash grenade first, then throwing a hand grenade towards the door in front of you. The big lock will be destroyed, letting you escape back into the room with all the tables. From there, it's rather trivial to shoot down any of the enemies, who are going to try to get to you through the other side of the cage that is still locked.
The chest itself contains the Hourglass with Gold Decor and defeating the Garrador grants you another 15 000 Pesetas.
Rocket Launcher
Moving into the next room, there's a free rocket launcher, ammo and grenades on display. You may want to upgrade your inventory size at the merchant first, who can be found in the same area.
Velvet Blue #16
Near the free rocket launcher on a table, hidden inside a small pot.
Spinel #51
Still in the same area on a table nearby the merchant, also hidden inside a small pot.
Chapter 3-4
Spinel #52 & 5 000 Pesetas
Right at the start of the chapter, if you explore the room counterclockwise, there's a Spinel on a cabinet inside a vase right next to a portrait of Saddler. The portrait itself can be checked to unhide 5 000 Pesetas.
Spinel #53
Immediately after gaining control of Ashley, there's a Spinel under a cabinet to your left.
Yellow Herb #12
There's a yellow herb in a corner before passing the typewriter.
Spinel #54
Dodging the first enemy, you may crawl under some furniture on the right side twice in a row. Right after, there will be a drawer with another Spinel.
2 500 Pesetas
In the exact same room as the previous Spinel, a cabinet can be opened for some extra money. Note that there are three lanterns here that can be used to kill the Ganado that is lurking.
Velvet Blue #17 & Spinel #55
After using two cranks to open up a way, you can find a door on the left hand side. There's a drawer with a Velvet Blue inside right next to the door upon entering the room. In the other corner straight ahead is a Spinel.
Document: Butler's Memo
In the same room as the previous treasure, walk down the stairs and pick up the document that is lying on the table.
Velvet Blue #18
You'll reach a darker area where Ashely is equipped with a flashlight. In the first room, there's a Velvet Blue on a cabinet next to the door that leads to a dark hallway.
Spinel #56
On a table right after entering the dark hallway.
Gold Bangle #02
Before being able to continue, you'll have to solve a puzzle by rearranging some misplaced pieces. Move the piece that is on the center left first. Next, put the cursor on the bottom left piece and from there, move the pieces one by one counterclockwise. Continue to do so until the game let's you place the missing piece (which you can found in the first room), indicating that the puzzle has been solved successfully.
Following that, you'll enter the final room of this section. There's a chest with the Gold Bangle on the left side of that room.
Spinel #57
In the same room as the Gold Bangle, inside a cabinet that sits in the corner.
3 300 Pesetas
After getting the Salazar Family Insignia, putting it into place in the room where you found the Butler's Memo, you'll be able to leave the area by climbing up a ladder. Before heading out the door, there's some money that can be grabbed first.
Chapter 4-1
5 000 Pesetas, Broken Butterfly & Elegant Perfume Bottle
Once Leon and Ashley are reunited, it's possible to backtrack to the fountain in the west of the castle. For this, you'll have to go back into the dining room, but be aware that this room will be filled with new enemies. From there, you can either walk north through the upper area of the hedge maze or south to get to the outer pathway. Piggyback using Ashley in order to unlock the door.
Velvet Blue #19
Continuing on, you'll reach a room filled with lava. The vase next to the typewriter contains a Velvet Blue.
5 000 Pesetas & Illuminados Pendant #02
In the room beyond the lava pit is where you need to get the Lion Ornament. Once the fire-breathing statues emerge, they can be shot down by shooting multiple times at the chains. The right one spawns a chest with 5 000 Pesetas, the one on the left gets you a second Illuminados Pendant.
Spinel #58
In a large vase after riding a tram car for the first time.
5 000 Pesetas
After inserting all the ornament pieces, head up the stairs on the right. You'll find another portrait of Saddler, with yet another 5 000 Pesetas hidden behind it.
Spinel #59
In a small vase on the right side before riding the second tram car.
Velvet Blue #20
In a large vase after riding a tram car for the second time, right after finding the previous Spinel.
Shooting Range B
There's a merchant behind a blue door in the upcoming room. This is where you find the second Shooting Range. Collecting another six bottlecaps grants you 25 000 Pesetas.
Document: Sample Retrieved & Yellow Herb #13
Nearby the door that leads to the room with the merchant lies a yellow herb and a document on a table.
Spinel #60
Same room as the previous goodies inside a cabinet.
Spinel #61-62, Green Gem #02 & Velvet Blue #21
Still in the same area, there's a hallway with multiple statues on the left. They hold a Spinel, Green Gem, Velvet Blue and another Spinel in that order.
Elegant Chessboard
In the same room as the Queen's Grail inside a cabinet. This is after doing a push block puzzle, shooting the red spots from the spiked ceiling (can be done before entering the room) and rescuing Ashley from being massacred by a snipe drill vehicle.
Spinel #63
In the same room inside a small crate.
Velvet Blue #22
In the same room inside a large crate.
19 500 Pesetas
As soon as the King's Grail is picked up, you're going to be trapped and attacked by Armaduras. The second wave of enemies gives you three times 6 500 Pesetas.
Velvet Blue #23
You'll reach a hallway with broken windows, after putting both the Queen's and King's Grail back in place. There's a cabinet on the right with a hidden snake and a Velvet Blue, hiding inside small pots.
4 600 Pesetas
In the same hallway, there are two cabinets on the left side containing 1 800 and 2 800 Pesetas respectively.
Butterfly Lamp #02
The hallway leads into the ballroom, but there's a second way in by hopping over the window on the right side of the hall. Climbing up the ladder reveals a Butterfly Lamp in a chest. This is where Red, Green and Blue Eyes that are dropped by Novistadors go into.

Novistador #15-23 & Novistador Hive
Entering the ballroom through either means gets Ashley kidnapped and seven Novistadors are going to attack you. Feel free to go back through the door and fight against them in the hallway, to both make the insects spread out less and prevent them from falling into the void. There's a hive at the ceiling of the ballroom that can be shot down before or after Ashley gets grabbed.
There will be two additional Novistadors hanging on the hive, if you decide to wait for the hive's destruction after Ashely's gone. Don't kill the insects up there, instead just shoot the hive to avoid losing potential treasure to the void. Destroying the hive itself kills them anyway and grants you three Red Eyes, four Green Eyes and a Blue Eye.
Velvet Blue #24
In one of the barrels outside the door beyond the next merchant, before crossing the bridge to a tower.
Spinel #64
Destroy the torch next to the previous Velvet Blue.
Document: Ritual Preparation
On a table at the top of the tower.
Gold Bangle #03
Dropped by the rocket launcher Ganado, outside the tower on the bridge, after it has been moved to the side. Try killing him quickly with something like a Magnum headshot while stunning the rest of the enemies with a flash grenade, then quickly move on.
30 000 Pesetas
There will be a room with two Garradors, one of them wearing full armor. As long as you don't move away from the entrance, the gates won't close. That way it's possible to kill the two Ganados standing in the middle of the room, then do a quick turn and exit the room. Immediately quick turn again and re-enter the room with the two Garradors. Stand still and shoot the bell on the far right, then hit the Garradors on their back with the Magnum or a similarly strong weapon.
At least one of the Garradors is going to come after you, together with a Ganado that you need to dispose of. You'll be forced to move away from the door eventually, but it's advisable to not go up the stairs to avoid more enemies from spawning in. Do keep in mind that moving up the stairs is going to make some enemies spawn even after killing both Garradors. They drop 15 000 Pesetas each.
Spinel #65-66
In the same area where you fight two Garradors, behind the double door. There are two statues on the side, each of which are holding a Spinel.
Velvet Blue #25
In the pit, right next to your spawn point next to an impaled body.
Yellow Herb #14
In the pit, left of the merchant.
Crown
In the pit, right of the merchant. Can be combined with the Crown Jewel and Royal Insignia.
Velvet Blue #26
In the first pipe on the left in the sewer tunnel, after climbing up the ladder out of the pit.
Spinel #67
In the fourth pipe on the left in the sewer tunnel, after climbing up the ladder out of the pit.
Crown Jewel
Kill Verdugo to get this treasure. There is no need to freeze him with a nitrous oxygen tank if you use a rocket launcher on him, although it makes it easier to hit and is required to increase damage throughput using other means, as it lowers his defense. The Crown Jewel can be combined with the Crown.
Chapter 4-2
Spinel #68
Inside a barrel right at the beginning of the chapter.
Document: Luis' Memo 2
Next to the typewriter at the start of the chapter.
Shooting Range C
The third shooting range is accessible right away. Collecting another six bottlecaps grants 35 000 Pesetas.
Velvet Blue #27
Right after leaving the first room of the chapter, there's a mine cart on the right with a Velvet Blue inside.
Velvet Blue #28
You'll find a Velvet Blue in another mine cart after jumping down a ladder.
2 800 Pesetas
There's some money to be collected on the way up to the curcuit breaker. It's sitting in a corner on some crates.
5 000 Pesetas
Near the curcuit breaker in the upper area of the room.
10 000 Pesetas
Dropped by the Chainsaw Ganado that spawns after operating the curcuit breaker.

30 000 Pesetas
After blowing up the large boulder using the dynamite (or a rocket launcher), you'll be forced to fight two El Gigantes at the same time. Killing them without making them drop into the lava gives you 15 000 Pesetas each.
Novistador #24-57
Inside the cave full of Novistadors, there's a total of 34 Novistadors to kill. 19 of them can be killed before pressing any of the switches. Pressing the one on the right (west) of the cave spawns additional five Novistadors, activating the one on the left (east) makes ten more appear. Avoid shooting them down above a void to prevent yourself from losing item drops. Hitting them midair does extra damage, usually killing them instantly.

Royal Insignia
On the pedestal of the platform at the end of the chapter. Can be combined with the Crown.
Chapter 4-3
Document: Letter from Ada
At the start of the chapter, pinned to the shack that the merchant resides in.
Spinel #69
Shoot down the bird nest on the big tree before encountering any enemies.
Spinel #70
On a table to the right of the first Ganado.
2 200 Pesetas
On a small workbench to the left of the bonfire.
1 800 Pesetas
On the floor, behind a wall to the right of the bonfire.
Velvet Blue #29
In a well next to a ladder, to the right of the bonfire.
Velvet Blue #30
After entering the underground area, in the first small crate on the left of a tunnel.
Velvet Blue #31
On the ground in the northwest corner of the maze-like room in the underground area.

Velvet Blue #32
On the ground in the southeast corner of the maze-like room in the underground area.
Staff of Royalty
In the maze-like room, go downstairs and open the stone casket.
20 000 Pesetas
Each of the Chainsaw Ganado drops 10 000 Pesetas and there are two of them in the maze-like area. Both of them are inside the building like structure, one downstairs and one in the upper floor.
Yellow Herb #15
Inside a barrel in the room with the Key to the Mine.
5 300 Pesetas
In a stone casket in the room with the spiked-ceiling trap.
Spinel #71
Hanging from the brazier in the room after the spikey trap. This treasure does not exist in the NTSC GameCube version of the game.
Spinel #72
In the same room on the floor, nearby the lower end of the stairway. This treasure does not exist in the NTSC GameCube version of the game.
Spinel #73
Also in the same room on the ground where a stream of sand is dripping down. There's no indication that the treasure exists, only a prompt to pick it up hints to its existence. This treasure can't be found in the NTSC GameCube version of the game.
Velvet Blue #33
Still in the same room hidden inside a barrel.
10 000 Pesetas
During the ride with the mine cart, there will be a Chainsaw Ganado hopping in when the mine cart gets to a hold.
10 000 Pesetas
A second Chainsaw Ganado appears later in the mine cart section.
Chapter 4-4
Velvet Blue #34
In a small vase near the beginning of the chapter, to the left of the ladder.
Spinel #74
In a large vase above the previous Velvet Blue, which can be reached simply by climbing up the ladder.
5 000 Pesetas
There will be a Ganado in a red cloak at the opposite side of the room from where you find the treasure.

Yellow Herb #16
After the cutscene where Leon throws a knife into Salazar's hand, there's a hidden chest on the ground floor of the area.

Gold Bangle #04
You'll ride up an elevator with Ganados continuously jumping onto it, followed by another small elevator to go further up. Before using that second elevator, look around to see a chest you can jump down to.
50 000 Pesetas
Salazar drops 50 000 Pesetas. Shoot the small eye ball to unveil Salazar's main body, then shoot him in the head with your strongest weapon.
Spinel #75
Inside a small crate by the merchant after the Salazar boss fight.
Chapter 5-1
Emerald #01
In a small box on the upper cliff ledge, at the far end of the path at the start of the chapter.
15 000 Pesetas
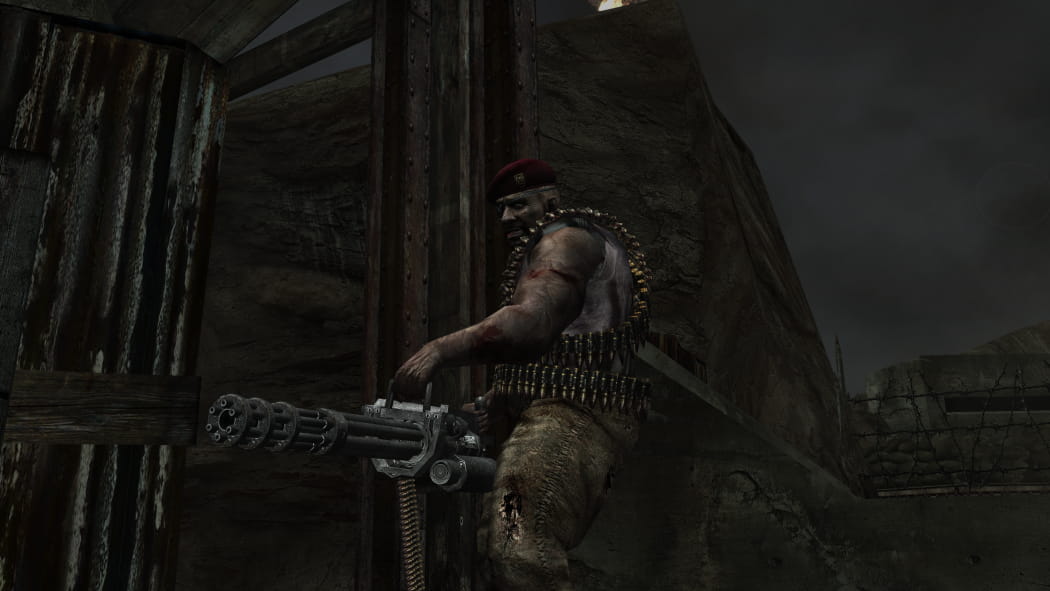
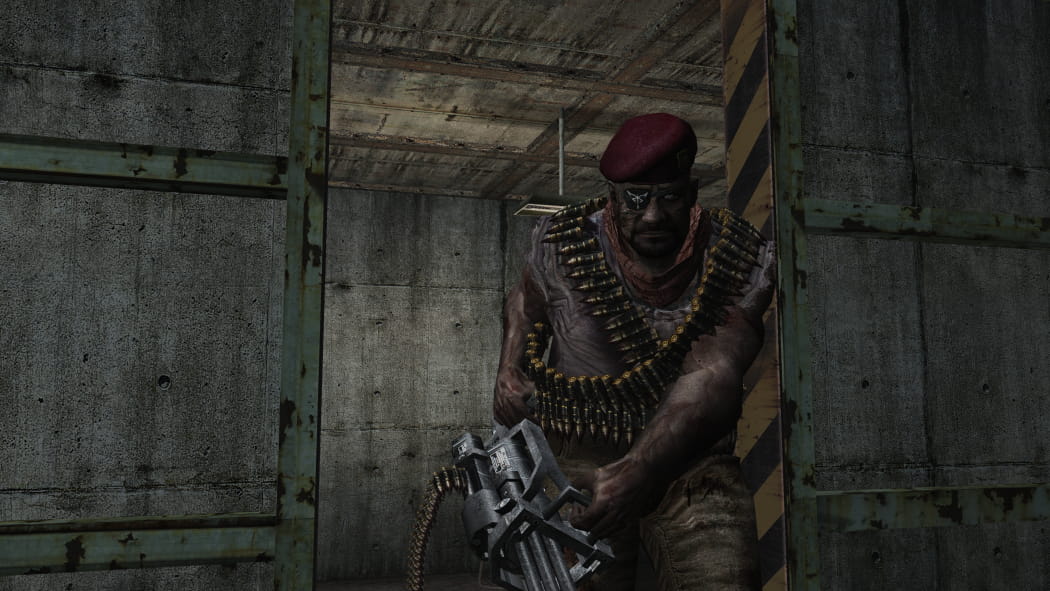
Dropped by the first Gatling Man (J.J.).

Emerald #02
At the start of the second section, after climbing up a ladder, look to your right. There's an emerald on top of some crates.
Golden Lynx
There's a small cave nearby the previous emerald with an explosive barrel next to a destructable wall. Behind that wall is a chest with the Golden Lynx inside. Combine this with the Red Stone of Faith, Green Stone of Judgment and Blue Stone of Treason.
2 000 Pesetas
Once inside the building after passing by the first merchant, immediately turn left. There is some money inside a locker.
Red Stone of Faith
Inside a brief case downstairs, in a room with the first Soldier with Hammer. It's the area after the hallway that contains the previously mentioned 2 000 Pesetas. Combine with the Golden Lynx.
Yellow Herb #17
Nearby the Red Stone of Faith, there's a small room under the stairs with some barrels.
5 000 Pesetas
Still in the same area, there's a locker upstairs with 5 000 Pesetas in it.
Shooting Range D
Shortly after, you'll find a merchant and an entrance to another shooting range. Getting another six bottlecaps earns you 50 000 Pesetas.
Emerald #03
Leaving the room with the merchant, there's a garage door that opens and closes as enemies are attacking you. There are drawers on the left side, one of which sticks out and can be opened.
Brass Pocket Watch #02
Next to the typewriter inside a box, one area after the previous treasure.

Emerald #04
In the same area, go up the stairs and walk to the right. There's a brief case containing another emerald.
Document: Luis' Memo 3
In the same room as the Freezer Card Key.
5 000 Pesetas
Once the Freezer Card Key has been picked up, the first Regenerador will come alive. It is possible to kill it using brute force, but you can save ammo by killing it later or dodging it all together. If you don't want to fight it, pick up the card key and walk out of the room immediately.

Emerald #05
There's an emerald behind some glass in the room of the first Regenerador.
5 000 Pesetas
Back in the hallway, there will be another Regenerador in your way. If you want to dodge it for now, use a shotgun to shoot down one of the legs. Wait until it jumped twice while on the ground, then move past it.

5 000 Pesetas
Also in the hallway, blocking the path to the waste disposal. It's possible to ignore this one for the time being and instead go into the freezer room, which you'll have to visit anyway.
Infrared Scope
In the freezer room. Once picked up, the Regenerador of the room comes alive and the door will be locked for a short period of time. It is possible to skip this item. You technically only need to visit this room to upgrade to the Waste Disposal Card Key.
5 000 Pesetas
Dropped by the Regenerador of the freezer room.
Emerald #06
At the waste disposal, inside the container closest to the door is an emerald. There is no visual indication, only a prompt for picking it up.
Yellow Herb #18
Also at the waste disposal, going up the stairs to a monitor room, there's a yellow herb on a table.
Emerald #07
In order to get the Storage Room Card Key, you'll have to kill an Iron Maiden. In the same area, there's an emerald inside a test tube, approximately in the center of the room. The glass surrounding it can be destroyed using the knife.
Yellow Herb #19
From the area with the Iron Maiden, do not backtrack to Ashely right away and instead follow the way east to a merchant. Next to him are barrels, one of them hiding another yellow herb. It's the path leading to the radio tower.
Chapter 5-2
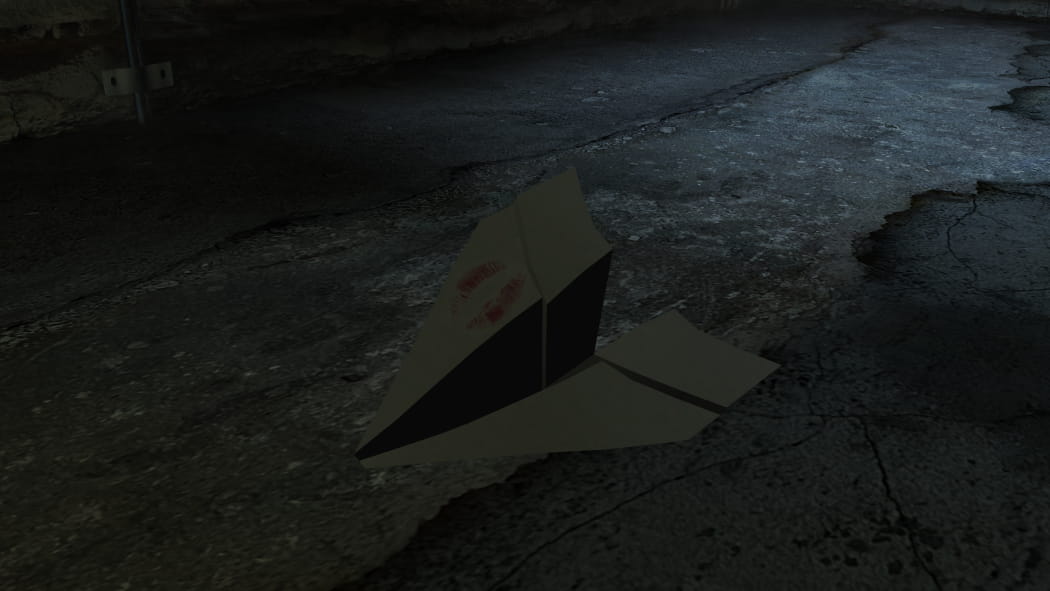
Document: Paper Airplane
At the beginning of the chapter, there will be a paper airplane flying into the room.
20 000 Pesetas
First Iron Maiden in the area after jumping down at the waste disposal.
20 000 Pesetas
Second Iron Maiden in the area after jumping down at the waste disposal.
5 000 Pesetas
First Regenerador in the area after the wrecking ball.
5 000 Pesetas
Second Regenerador in the area after the wrecking ball.
Yellow Herb #20
At the end of the same room as the two Regeneradors.
5 000 Pesetas
In a drawer in the room with the merchant after the bulldozer section.
Green Stone of Judgment
Inside a brief case in the room with the merchant after the bulldozer section. To be combined with the Golden Lynx.
Chapter 5-3
5 000 Pesetas
Right at the start of the chapter, left of the stairs.
Document: Our Plan
On the table at the beginning of the chapter, after walking up the stairs.
Emerald #08
Before encountering the first enemy, there's a stairway leading downwards. Above the stairs are multiple windows with an emerald being visible from the other side.
3 000 Pesetas
In the same area as the last emerald, there's a small side room south west you can enter through a door before continuing into the next area.
3 000 Pesetas
On the floor before using the elevator that leads to the encounter with Krauser.
Emerald #09
Lying on the red chair after the laser room.
Elegant Headdress #02
Once you picked up the previous emerald, turn around. There's an Elegant Headdress hanging somewhere above the door.
Emerald #10
As soon as entering the underground area, look belove the stairs.
Document: Luis' Memo 4
By the merchant of the underground area.
Yellow Herb #21
At the merchant of the underground area, you'll go through a huge double door and find a damaged fence on the left, before crossing a metal bridge. Behind that damaged fence is a new yellow herb.
50 000 Pesetas
Left behind by U-3. During the first phase, you'll have to shoot green lights to open shutters, creating a path to push two switches in each cargo container. In the second container, it's possible to shoot both lights before making U-3 appear. Inside the third container, you can open the shutter on the left side of the container early by throwing a hand grenade at the lower right corner of the shutter door.

Yellow Herb #22
After the fight with U-3, don't enter the tent yet and instead explore the outer area. There's a yellow herb on the floor.
4 100 Pesetas
Inside the tent are two crates with money – 1 100 and 3 000 Pesetas.
Emerald #11
Look at the ceiling after jumping down the ladder inside the tent.
Blue Stone of Treason
A little further from the previous emerald, there's a small room you may enter by heading to the right. Can be combined with the Golden Lynx.

5 000 Pesetas
Also in the tunnel, continue on but go left this time.
Document: Krauser's Note & Shooting Range D
Next to the typewriter and merchant in the tunnel. There's also another Shooting Range, but you may skip it if you already obtained all bottlecaps.
Yellow Herb #23
During the Krauser fight, there will be a gate that closes behind you, with a yellow herb to your immediate right. It's the final part of this section before encountering Krauser one last time.
Krauser
Krauser himself doesn't give any sort of treasure. It is worth noting however, that he is always (also in his first phase) weak to knife attacks. Before picking up the second Piece of the Holy Beast, which triggers Krauser's final phase, make sure to pick up the magnum bullets and the green herb if you have a need for them. It is possible to knife him down in a corner, but it's safer to use the magnum to shoot into his legs and his head in tandem.

Chapter 5-4
Yellow Herb #24
There's a barrel in a corner behind a door with a huge lock, relatively early in the chapter.
15 000 Pesetas
As soon as you step outside after unlocking an electrically locked door, a Gatling Man (J.J.) will spawn.
5 000 Pesetas
After unlocking the gate by pulling the switch where the Gatling Man (J.J.) was, don't move on just yet and instead jump down to where multiple tents are set up. Inside the right most one are 5 000 Pesetas hidden inside a barrel.
Emerald #12
Once you left the war zone of an area with Mike as backup, you'll move up a stairway. On one of the pillars hangs an emerald. You won't be able to pick it up right away as a cutscene is going to interrupt.
Emerald #13
After the cutscene ended, there's another emerald on a pillar. If you look towards the door that leads into the next section, it's to your right.

Pearl Pendant #02
Once you jump down a ladder into a sandy room, turn around. It's the room right before a cutscene with Ada.
Yellow Herb #25
Next is a dark hallway with a Regenerador inside one of the cells. Don't go through the hallway yet, as there is a side room nearby the typewriter with a yellow herb in it.
5 000 Pesetas
In the dark hallway, hiding inside the last cell on the left is a Regenerador waiting to be hugged.

15 000 Pesetas
In the area after the dark hallway is another Gatling Man (J.J.).
5 000 Pesetas
Inside a brief case in the same area. It's next to the device that requires the Emergency Lock Card Key. You can find it by going through the door in the back, then climbing up the ladder.
Yellow Herb #26
Also in the same area, inside a locker next to one of the buttons to release the lock. It's the one activating the left green light, closer to the start of the section.
Document: Luis' Memo 5
After being back together with Ashley, on the rocks nearby the merchant.
Final Chapter
Document: Our Mission & Yellow Herb #27
At the start of the chapter, before going through the door that leads to the merchant.
100 000 Pesetas
A parting gift of Saddler. You can expose his main weakpoint by shooting the eyes on his legs, shooting explosive barrels or by hitting him with a hand grenade. Once enough damage has been done, Ada throws you a rocket launcher that you simply shoot at him to finish things off.
SW Chapter 1
Separate Ways is an unlockable game mode available in all but the original GameCube release.
Separate Ways ist ein freischaltbarer Modus, verfügbar in allen Spielversionen mit Ausnahme der originalen GameCube-Version.
Yellow Herb #01
In a small crate behind the cow barn. Its location is the exact same as in the main game.
Spinel #01
At the original entrance of the village.

Spinel #02
On top of the center house of the village. Same location as the main game.
Spinel #03
Near the door that leads to the farm.
Elegant Mask
On the bed inside the house, on top of which you'll have to hook shot to in order to pick up the Insignia Key. The Green, Red and Purple Gems can be combined into this treasure, which you'll also find in this chapter.

Green Gem
In a small box in the underground pathway. Combine this with the Elegant Mask.
Yellow Herb #02
Inside a small box in the shack of the graveyard.
Red Gem
On one of the graves. To be combined with the Elegant Mask.
3 000 Pesetas
Dropped by the Chainsaw Sister where the Green Catseye (as a key item) is.
Purple Gem
As soon as you enter the church, turn right. It's right there in the corner. Combine it with the Elegant Mask.
SW Chapter 2
Spinel #04
Go outside through were Leon came into the building. The spinel is inside a box in a shack nearby the exit of the underground area.
Brass Pocket Watch
Nearby the spinel, above a basin next to the exit of the underground area. Shoot the stick holding the lid first.
2 000 Pesetas
Inside the building the chapter starts in, upstairs inside a cabinet. It's to the left, after going through the door that ends chapter 1-2 when playing as Leon.
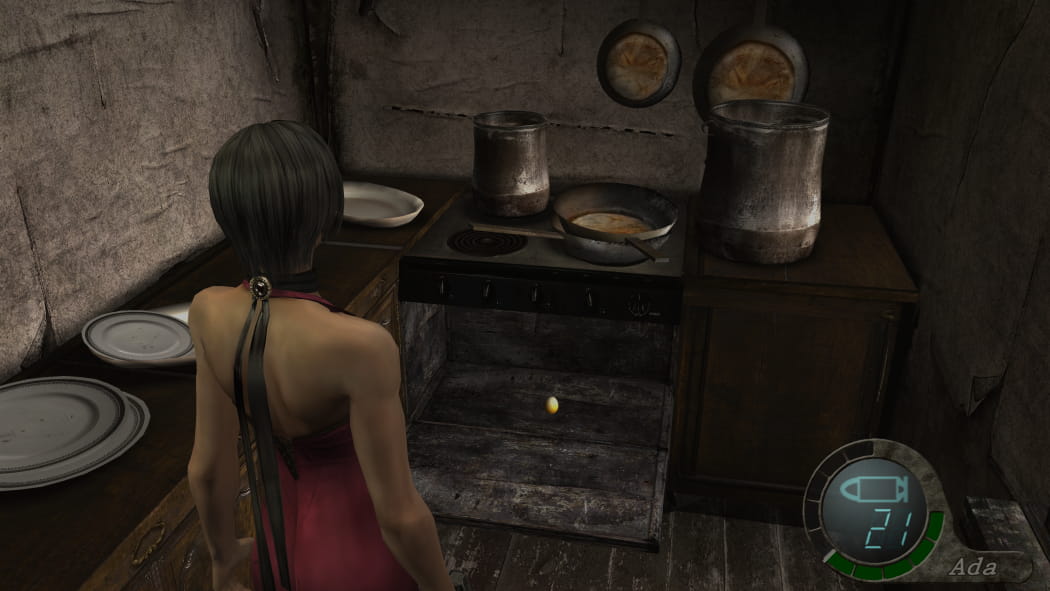
Gold Chicken Egg
In the oven, to the left of the door that leads out of the house.
Ruby #01
Left by the Chainsaw Ganado that patiently waits for you outside.
Spinel #05
Above the basin on the farm. Shoot the stick holding the lid first.
Spinel #06
It's possible to use the grappling hook to get on top of the cow barn.
Gold Bangle
Inside a box on the farm, where in the main game the Beerstein is found. Climb up the ladder in the 2-story barn, hop over the window and jump down after walking a few steps forward.
Beerstein
Use the grappling hook to get on the bridge in the area where Leon had to run away from a rolling boulder. It's the barrel to your left after zipping up. You'll want to combine this one with the Green, Red and Yellow Catseyes that you'll find later in this chapter.
Spinel #07
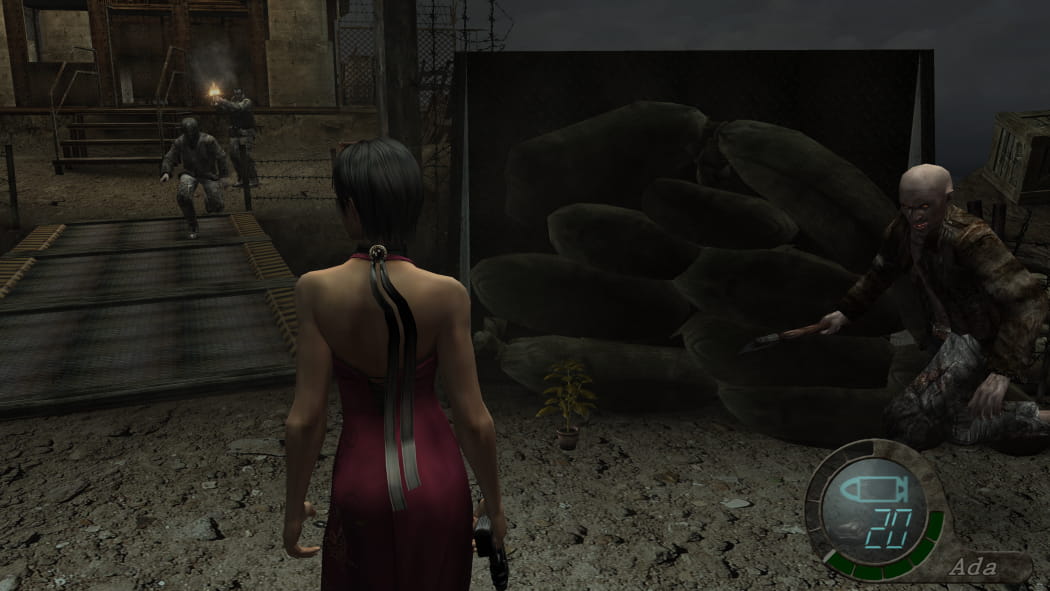
In a bird nest near the house where Luis is held captive. Once you killed the Ganados holding dynamite in the house to the right, a cutscene is triggered and all enemies in that area disappear.
Spinel #08
Where the bird nest with the previous spinel is, move a little forward to find a small box on the floor.
Spinel #09
Near the container and the shack with the typewriter at the farm entrance. This one is only available when backtracking after Luis and Leon are captured.

Green Catseye
Inside a chest in the cave that Ada wakes up in after being abducted. To be combined with the Beerstein.
Yellow Herb #03
In a locker inside the building with the controls for the gondola. You'll also find the Iron Key there.
Red Catseye & Yellow Herb #04
Outside the barn with the Chainsaw Sister that holds the Lift Activation Key. It's the barn Leon later fights Mendez in. The Red Catseye can be combined with the Beerstein.
Spinel #10
After riding the gondola, lying on the floor to your left when heading to the safe house with the typewriter.
Spinel #11
In the area with El Gigante on the floor nearby the first shack.
Yellow Catseye
Nearby the previous spinel, it's possible to use the grappling hook to zip up to an upper platform with two barrels on it. As with the other catseyes, this one should be combined with the Beerstein.
10 000 Pesetas
Dropped by El Gigante.
SW Chapter 3
Yellow Herb #05
In the southwest corner of the maze. Same location as the main game.
Yellow Herb #06
In the southwest corner of the maze. Same location as the main game.
Gold Bangle with Pearls
In the center of the hedge maze. The stairs leading up to it are in the west, not too far from the location of the yellow herb.
15 000 Pesetas
There are five Ganados in red lurking around in the hedge maze. One of them opens the gate, the other four are guarding chests with ammo inside. Each of them drops 3 000 Pesetas.
Elegant Perfume Bottle
On the ceiling above the nice bed.
Yellow Herb #07
In the outside area with the fountain, there's a building you'll have to hook shot into. You'll have to enter this building as part of the main quest anyway to get the Hourglass with Gold Decor (key item). There's a red cloaked Ganado inside as well. It's the building where you'd find the Broken Butterfly as Leon.
9 000 Pesetas
There are in total three Ganados wearing red clothes in the area with the fountain, each of them dropping 3 000 Pesetas. One of them is in the building with the hourglass and the yellow herb, one is in the pathway with glass doors and another near a white gold door.
3 000 Pesetas
Another Ganado with a red cloak is in the dining room.
Ruby #02
Killing the Garrador gives you another ruby, who drops into the cage upon approaching the chest in the dining area. The strategy here is the same as in the main game. If you can, use a flash grenade first, then throw a hand grenade towards the door in front of you, destroying the large lock that would normally block it. Run outside the cage back to the tables and mow down the enemies from there. Any enemy inside the cage will try to escape it through the other side that you haven't unlocked, essentially making them stuck.
Elegant Chessboard
In the area where Leon is seemingly wasting all of his TMP ammo. Drop down and look below the end of the raised platform.
Spinel #12
Same area as the Elegant Chessboard, inside a small vase after the hallway where Leon is being kept busy. It's the room before the area where Ashley is held captive.
SW Chapter 4
Velvet Blue #01
On the floor of the other side of the wreckage at the start of the chapter.
Yellow Herb #08
Near the first Velvet Blue, it's possible to hook shot onto a pipe with a window on the left that you can hop over. You'll reach some kind of storage room with the yellow herb in it.
Golden Lynx
From where you find the yellow herb, head outside to find the Golden Lynx on a crate in the middle of the wreckage. This is where the Green Stone of Judgment, Red Stone of Faith and Blue Stone of Treason from later in this chapter go in.
Velvet Blue #02
After using the turret requiring the Action Key (blue), climb up a ladder and go straight forward to a table with some boxes and a Velvet Blue. It's the area where you can first board the elevator that connects both parts of the ship.
Velvet Blue #03
In the area after the ship, there's a spot you can use the grappling hook to go up. Before doing so, right around there is a Velvet Blue on top of some crates.
Green Stone of Judgment
Right around after using the grappling hook at the spot previously mentioned, walk up the small stairs. The stone is to be combined with the Golden Lynx.
Yellow Herb #09
Continue on from the previous treasure until you need to jump down, with a fence and a door on the left side. This is where a yellow herb sits on the floor.
Red Stone of Faith
After jumping down through a window, go through the double door into the area, into which Ashley and Leon crashed when using the bulldozer. There's a brief case with the stone inside that can be combined with the Golden Lynx.
Yellow Herb #10
Also in the area where the bulldozer crashed into. It's in a corner of the room where the bulldozer is.
Blue Stone of Treason
Continuing on, you'll reach a staircase leading downwards. Look above to see the stone on the other side of a window. Shoot the window to make the treasure drop, same as with the emerald of the main game at the exact same spot. Shall be combined with the Golden Lynx.
Velvet Blue #04
In the final room of the chapter where Leon and Krauser are fighting. Be careful not to accidentally hook shot before having the Velvet Blue picked up.
SW Chapter 5
Velvet Blue #05
Inside the first barrel of the chapter, at the building where a Gatling Man (J.J.) is jumping from.
Blue Eye
A few steps back from where you pick up the Velvet Blue is a spot to hook shot onto the building where the Gatling Man (J.J.) spawns. On the left is a metal drum with a Blue Eye inside. Combine this into the Butterfly Lamp later.
Yellow Herb #11
On the floor right before the metal bridge, still early in the chapter.
Velvet Blue #06
You'll be trapped in a building having to survive waves of enemies until the electrically locked door opens up. There are two tents that you can jump down to, one of which has a barrel inside that hides a Velvet Blue.
Yellow Herb #12
Opposite to the tents where you find the last Velvet Blue.
8 000 Pesetas
Each Gatling Man (J.J.) drops 4 000 Pesetas each, except for the one that chimes in at the start of the chapter, as that one leaves an First Aid Spray.
Yellow Herb #13
Inside a barrel in the area where in Leon's campaign the helicopter is shot down. Be aware that entering the pathway to that barrel makes three enemies spawn.
Red Eye
In the same area on a pillar. If you look towards the door that leads into the next section, it's to your right. As Leon, there was an Emerald to collect. Can be combined with the Butterfly Lamp.
Yellow Herb #14
Next is the dark hallway with the typewriter. For Ada, there's also the merchant here and the Regenerador doesn't come to life. Instead some enemies lurk around. Same as in the main game, there's a side room with a yellow herb in it.

Green Eye
In the dark hallway, in the last cell to the right, opposite to where the enemies and a dormant Regenerador are residing. Compatible with the Butterfly Lamp.
Butterfly Lamp
Right after the fight with Krauser (who is still very weak to the knife), move a little to the left. It's now possible to combine the Blue, Red and Green Eye into it.
Saddler
One of the final things to do in this chapter is to fight Saddler as Ada. It's possible to also use the knife on him by standing at the blueish ramp a little below him while spamming the knife and the dodge buttons.
Assignment Ada
Unlockable game mode, available in all game versions except for the PS2. Various German game releases (including GC, Wii, PC 2007) are censored in terms of available game modes and are thus missing Mercenaries and Assignment Ada.
Freischaltbarer Modus, verfügbar in allen Spielversionen mit Ausnahme der PS2-Version. Diverse deutsche Spielversionen (inkl. GC, Wii, PC 2007) sind zensiert hinsichtlich Spielmodi und bieten daher kein Mercenaries oder Assignment Ada.
Yellow Herb #01
In a small box on the upper cliff ledge, at the far end of the path at the start of the game mode. It's the same location as the very first emerald of the main game in chapter 5-1.
Yellow Herb #02
After going up the stairs where the first Gatling Man (J.J.) spawns, right behind the pile of sand bags.
Yellow Herb #03
In the upper outside area of the island, inside the small cave. It's not in the chest where you'd usually find the Golden Lynx as Leon, it's on the other side of that cave.
Yellow Herb #04
Remember where the very first Regenerador of the main game comes out? In exactly that room behind some glass, where Leon found an emerald inside. Leon would also find the Freezer Card Key in that area.
Plaga Sample #01
In the same room as the previous yellow herb, on the floor next to a body. This is where in the main campaign the Freezer Card Key is found, which would trigger the first Regenerador.
Plaga Sample #02
Inside the freezer room, in place of the Infrared Scope.
Yellow Herb #05
Around the area where Ashley was being held captive. It's on the floor in a corner, not exactly in the room Ashley was locked in.
Plaga Sample #03
In a brief case inside the room Ashley was trapped.
Yellow Herb #06
In a small side room right before reaching the laboratory. There are two Ganados throwing dynamite. It's the same room that had a typewriter in the main game.
Plaga Sample #04 & Yellow Herb #07
At the laboratory, inside a test tube that can be destroyed is another Plaga Sample. In that room are also all colored herbs on display.
Plaga Sample #05
Head outside the lab to reach the pathway to the radio tower. About halfway to the elevator, Krauser is showing up. Knife him down to get the last Plaga Sample and make your way to the radio tower.
Checklist
Chapter 1-1
Chapter 1-2
Chapter 1-3
Chapter 2-1
Chapter 2-2
Chapter 2-3
Chapter 3-1
Chapter 3-2
Chapter 3-3
Chapter 3-4
Chapter 4-1
Chapter 4-2
Chapter 4-3
Chapter 4-4
Chapter 5-1
Chapter 5-2
Chapter 5-3
Chapter 5-4
Final Chapter
SW Chapter 1
SW Chapter 2
SW Chapter 3
SW Chapter 4
SW Chapter 5
Videos
Resident Evil 4 (Treasure, Yellow Herbs)
Complete walkthrough of all game mods: Main Game, Separate Ways and Assignment Ada. Treasure and Yellow Herbs are collected as well while using some speedrun strategies to speed things up.
Ein kompletter Walkthrough durch alle Modi des Spiels: Kampagne, Seperate Ways und Assignment Ada. Dabei werden alle Schätze und alle gelben Kräuter eingesammelt. Speedrun-Strategien sind inklusive.
 ▷ Walkthrough